Faced with the impending growth of our small family — and the limited room for growth in our small urban space — I decided to make the best of everything and build a custom bed for my daughter, she whom would shortly be sharing a room with an infant brother.
Since the addition to our (almost) century cottage has lower ceilings that the rest of the house (a generous 9 feet), we knew it was unlikely that a pre-fab bed would do the trick. Research confirmed this as we only found two kinds of beds: “Captain’s” beds, which are about three feet off the floor with room to store clothes and such-like under the mattress; and loft beds, most of which tower too high to our unconventionally-low ceilings.
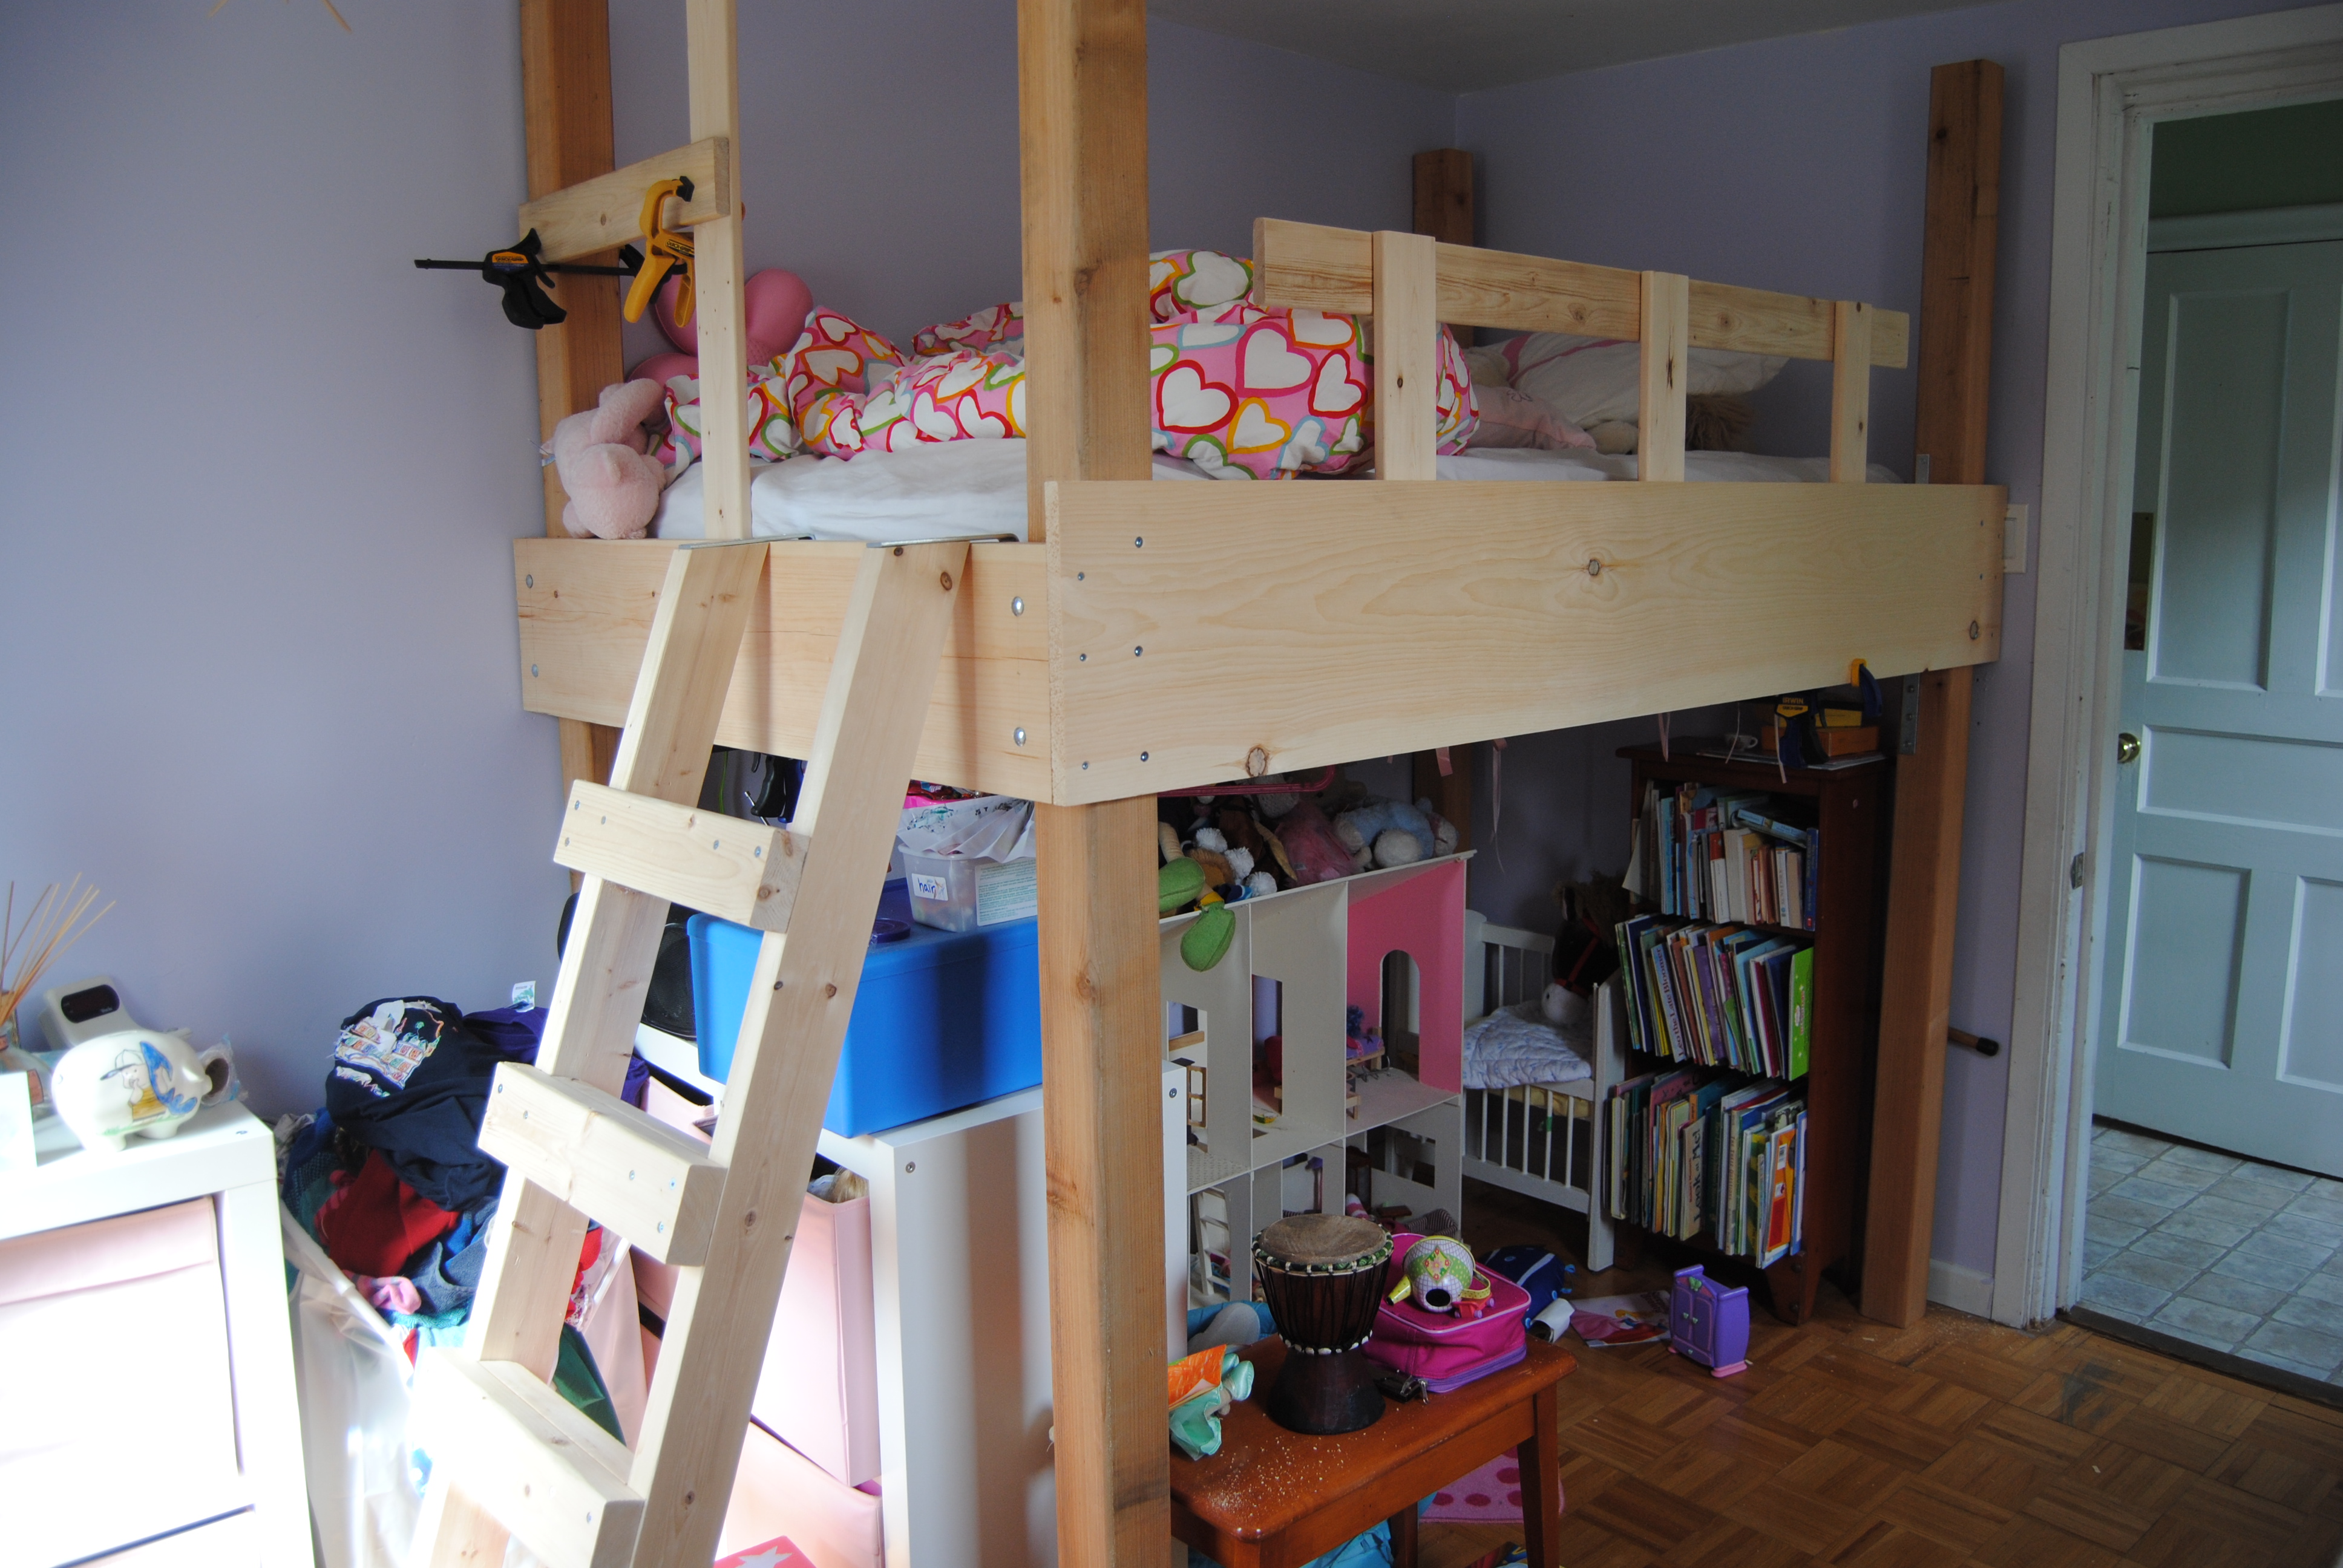
So, I (sort-of) planned out a bed solution that would result in a comfortable sleeping space for a young girl, and room enough for a girl-cave underneath. The other corner of the room received a crib.
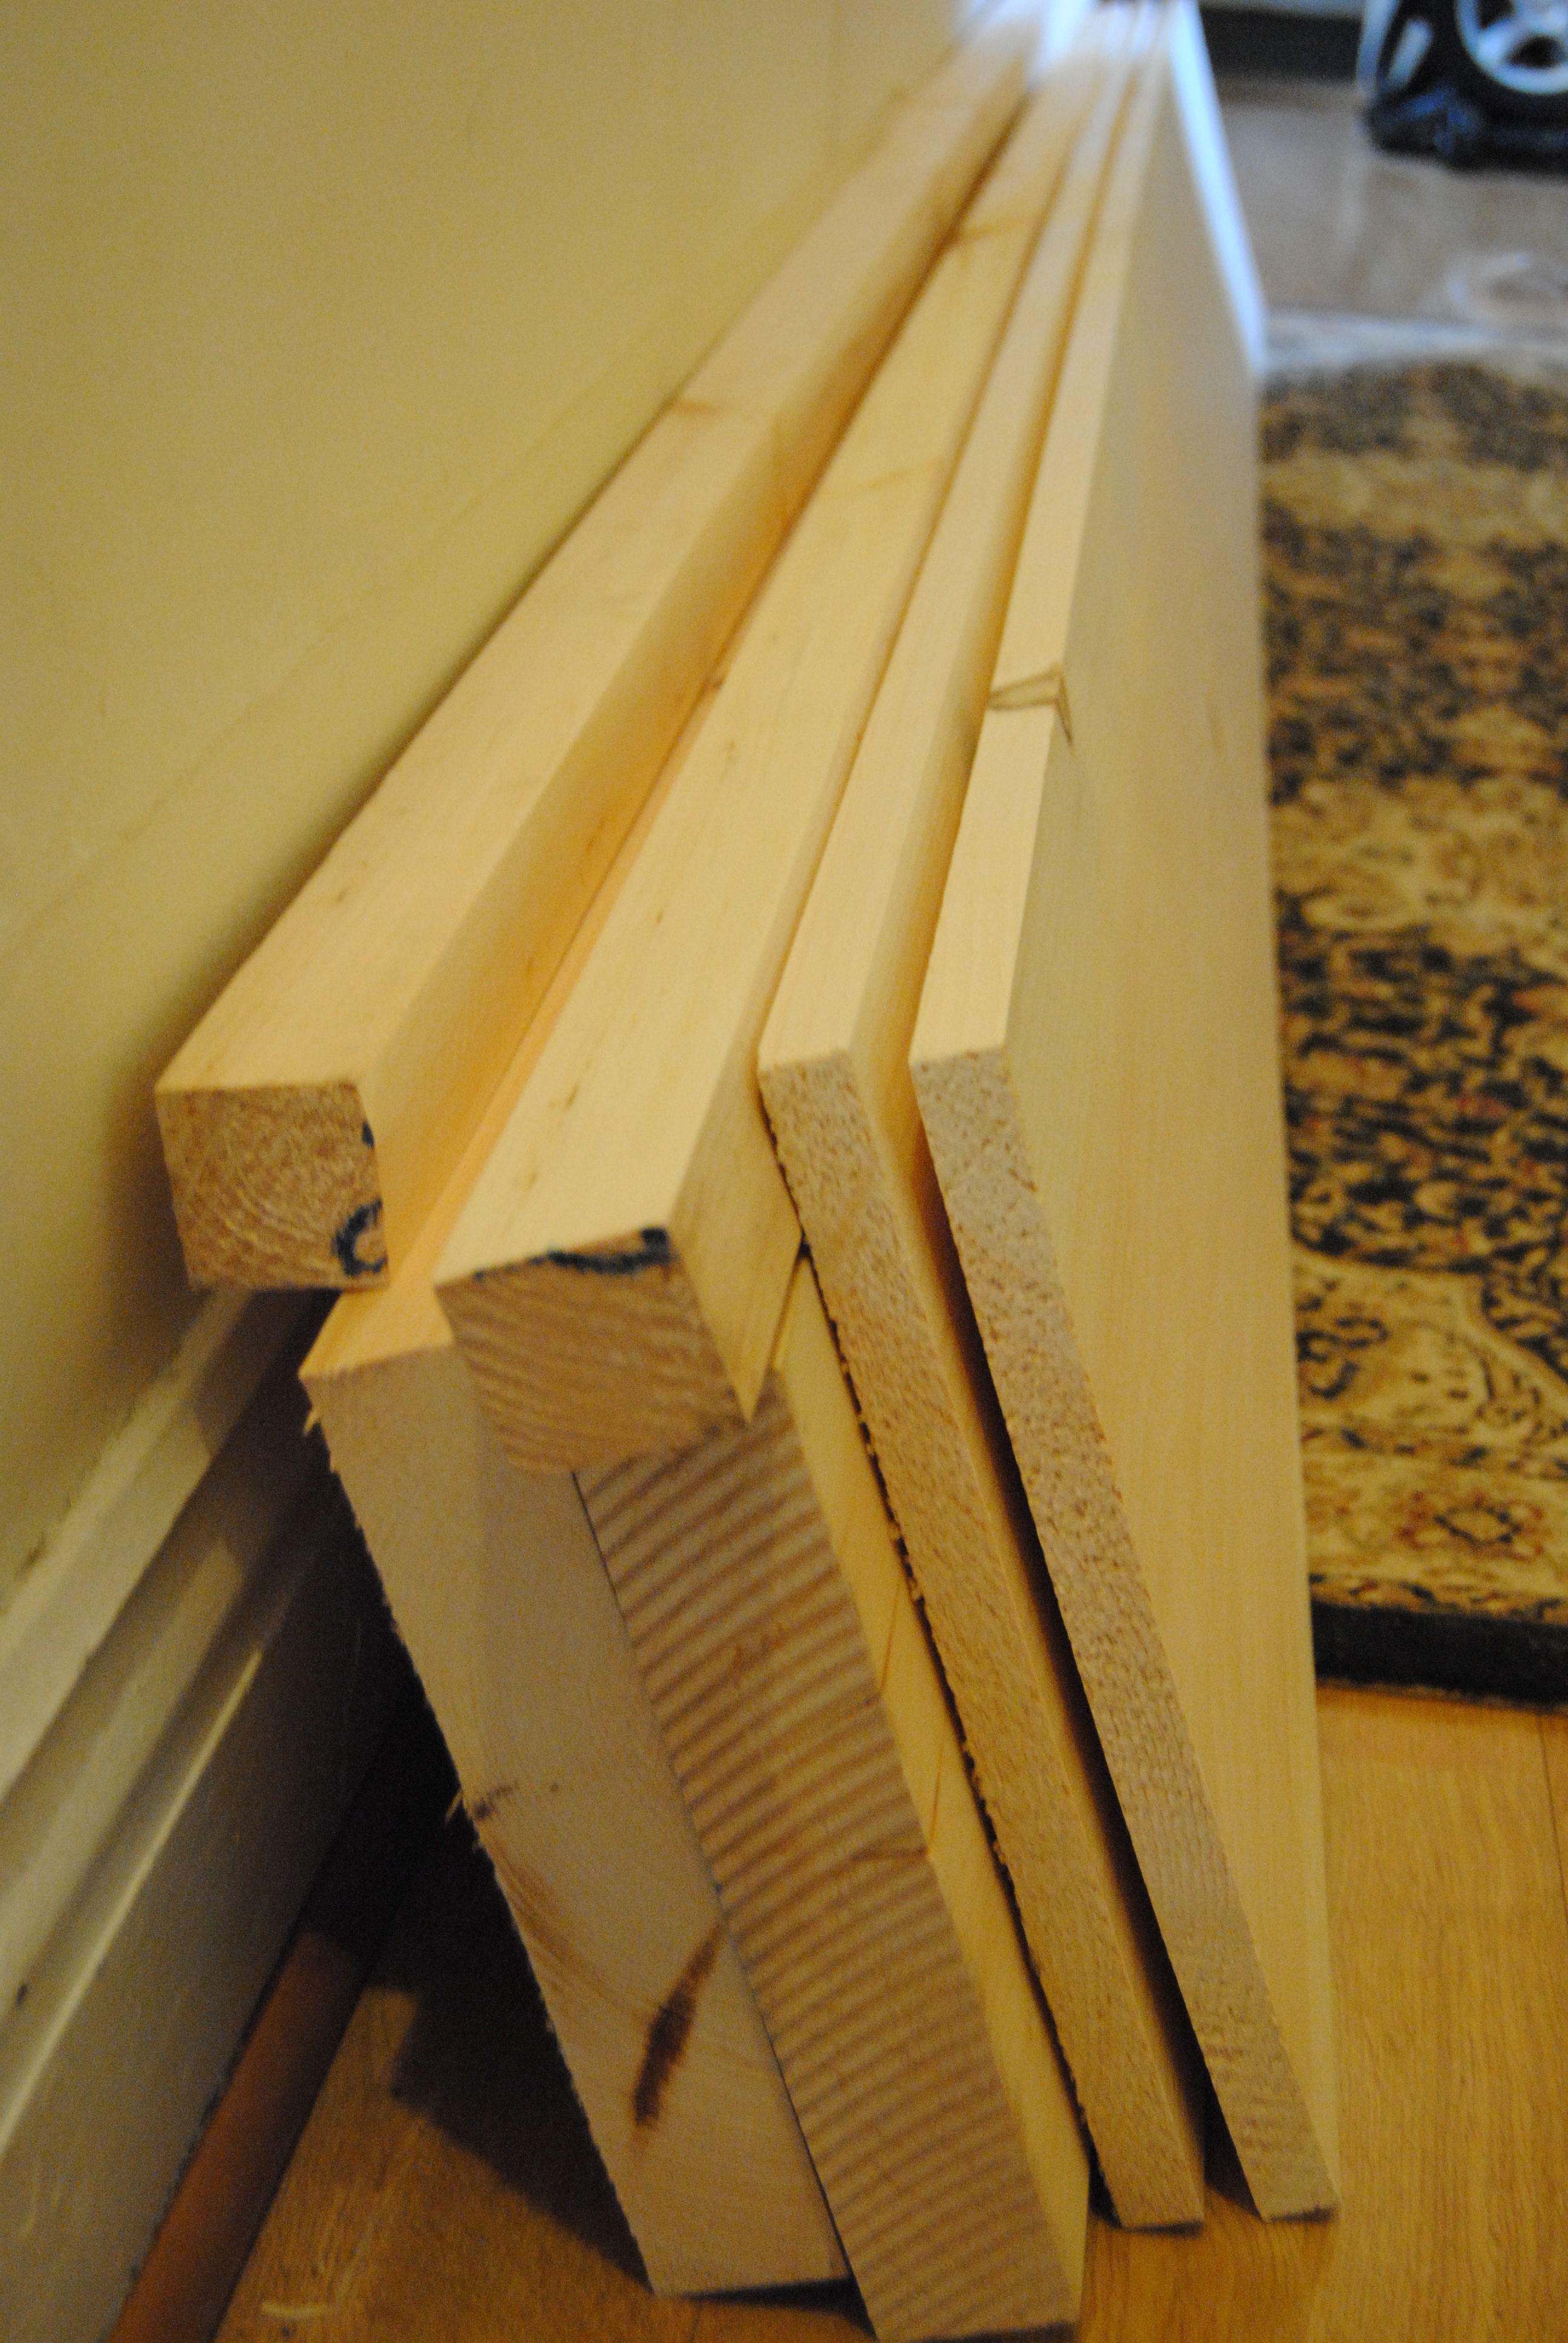
I went over to my trusty Home Hardware Building centre and got me some building supplies enough for a cheap — but not crappy — build-it-yourself-bed. In total, I spent about $240, including sundries.
The whole project took about a weekend, although I was successful in stretching it out over a week and a half.
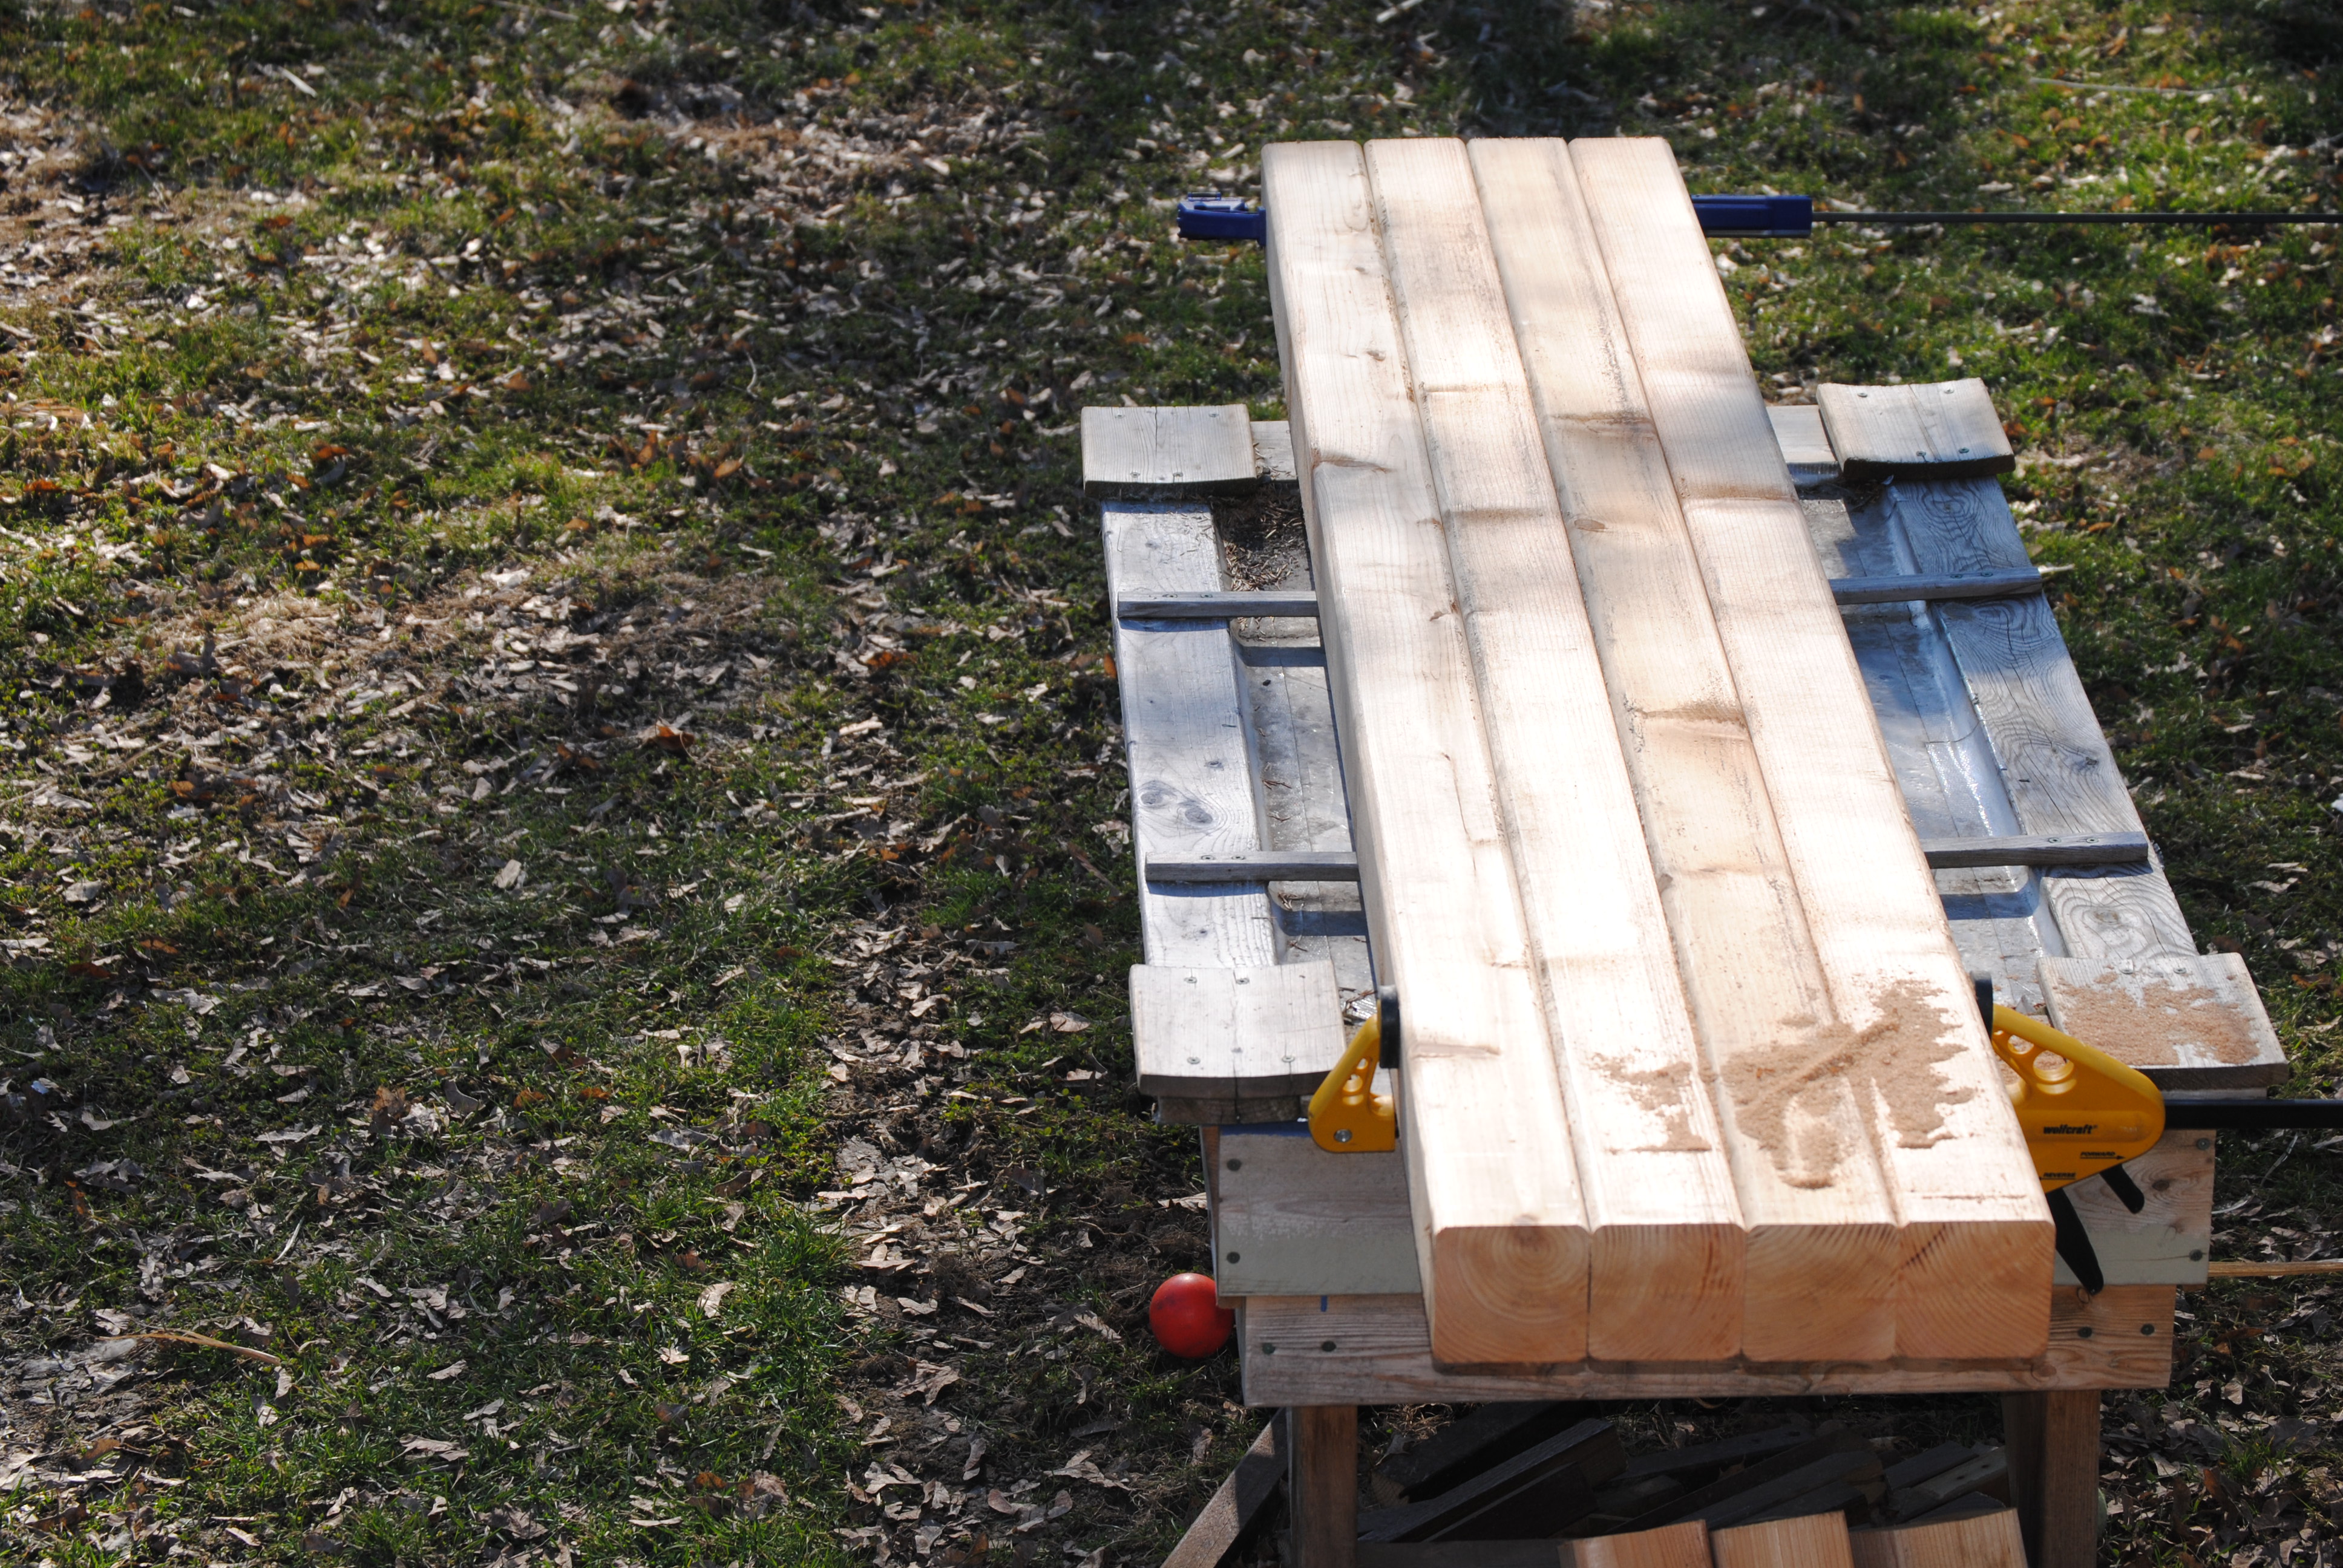
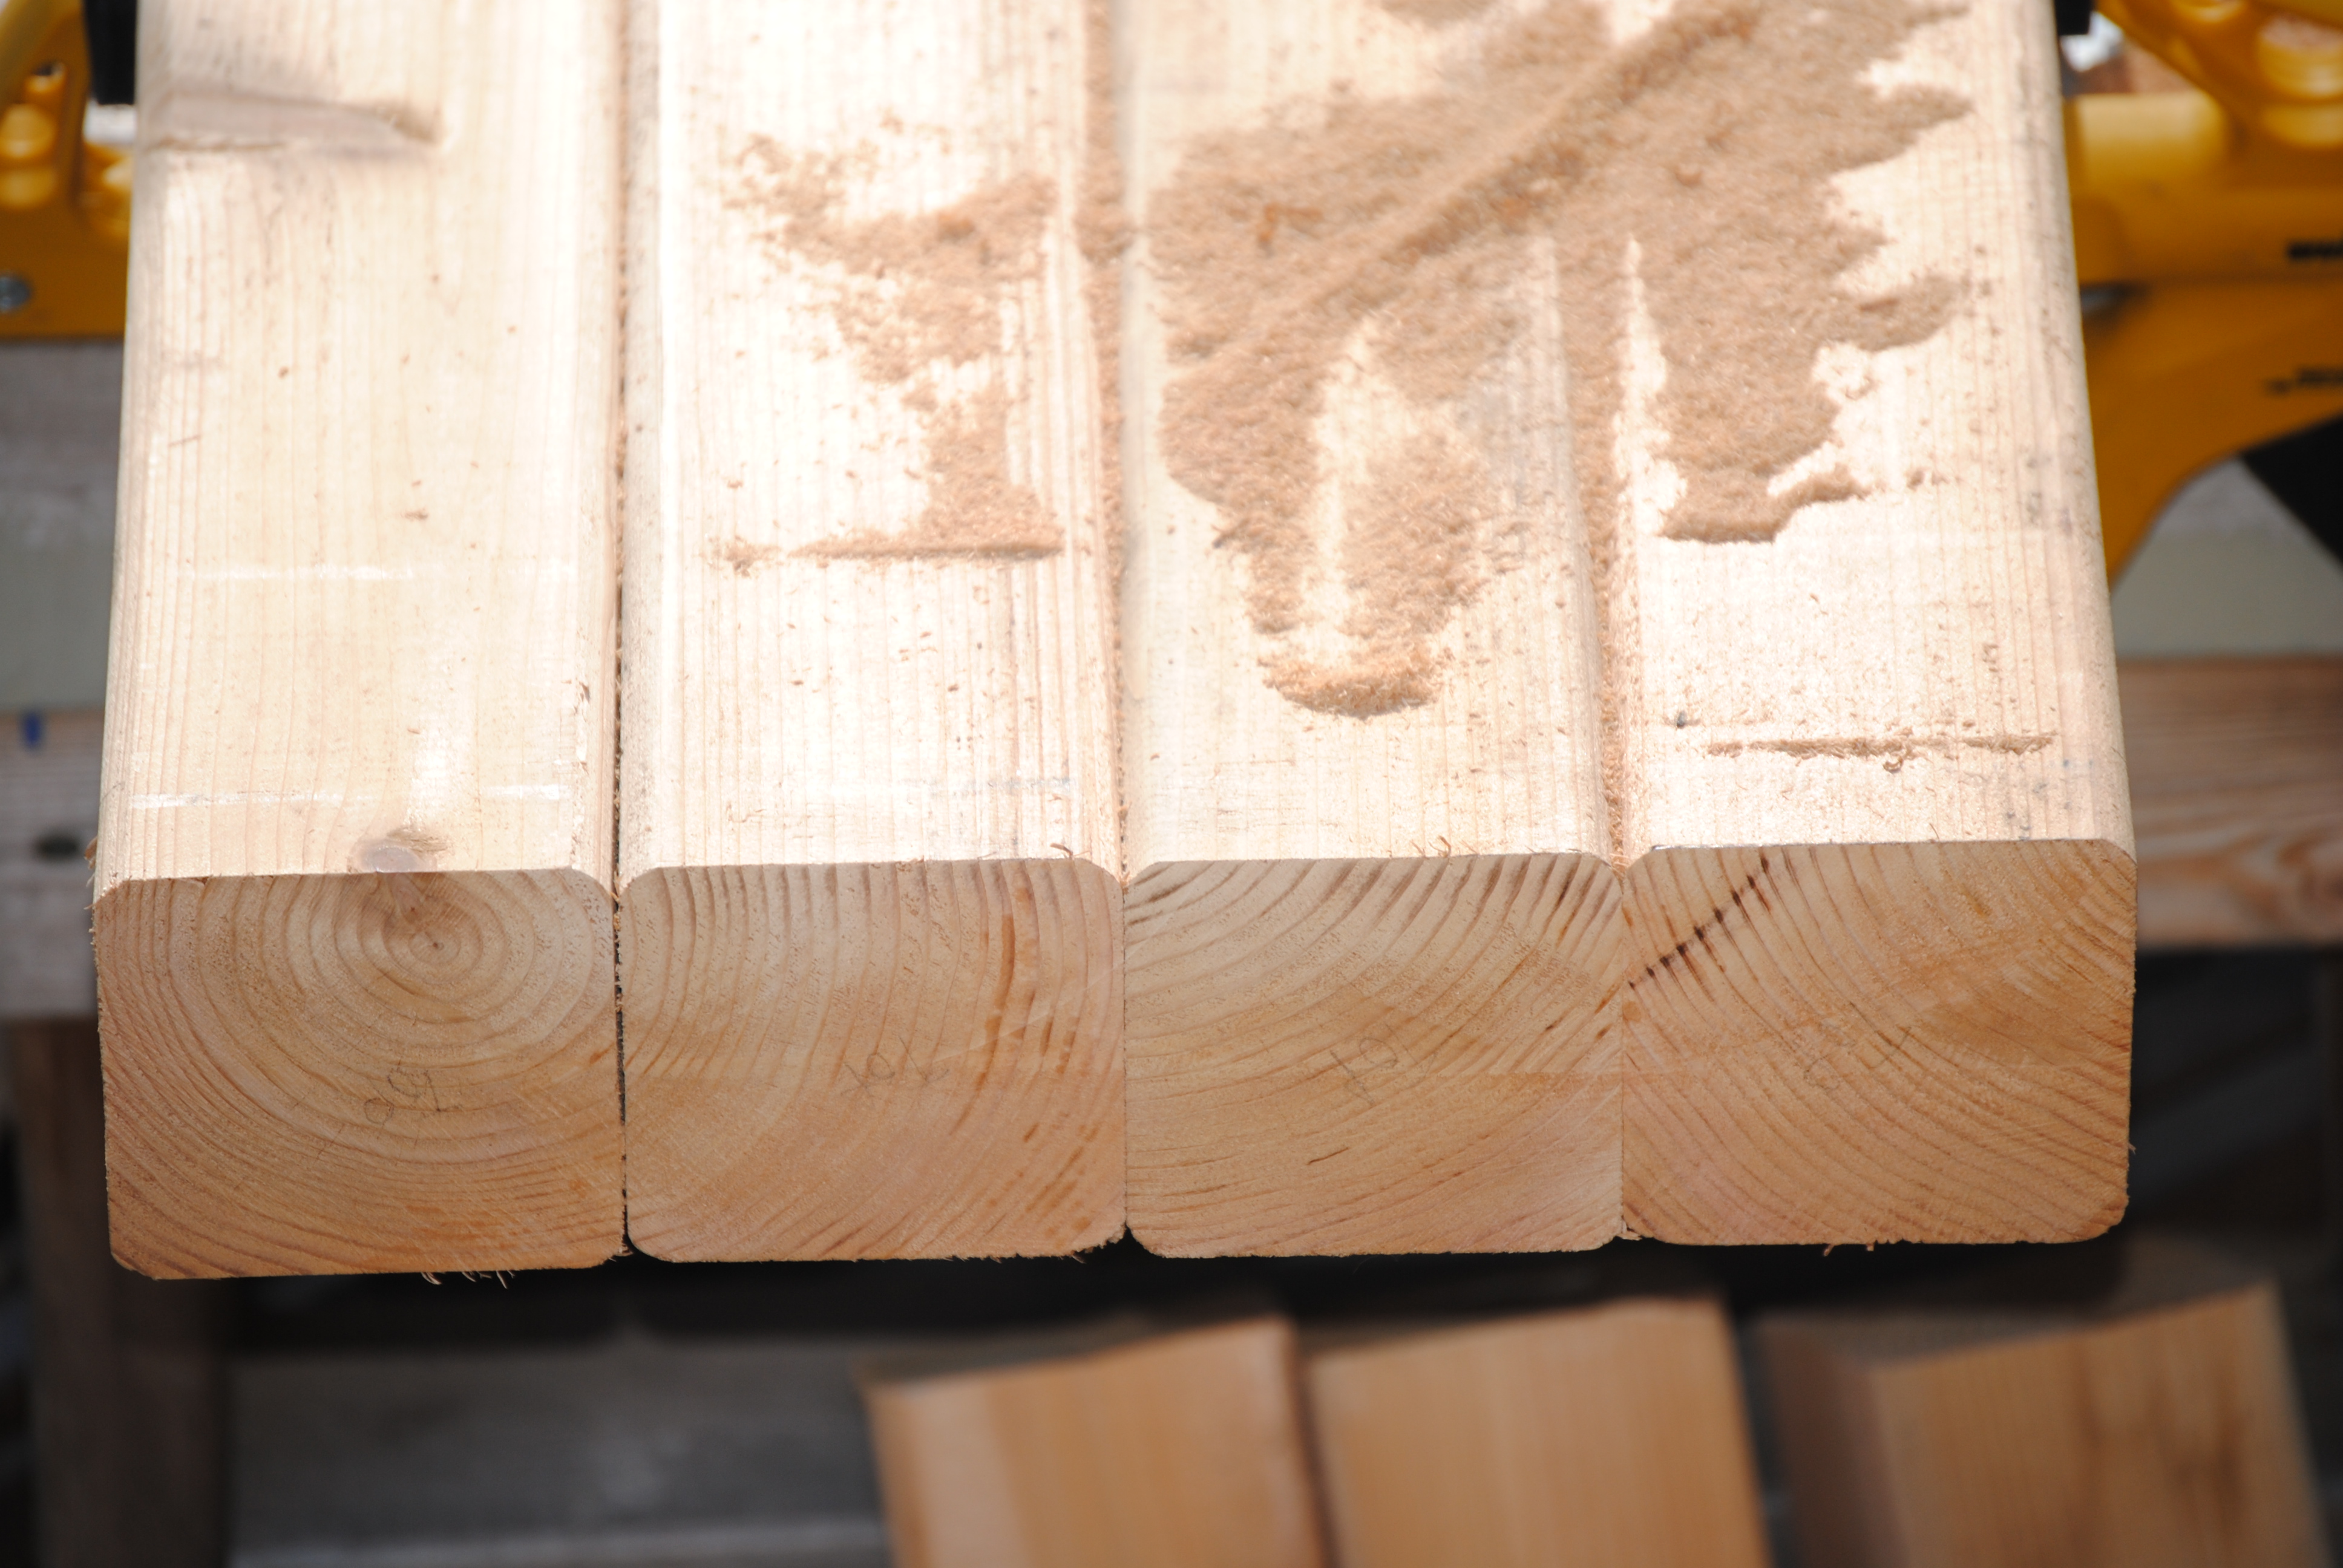
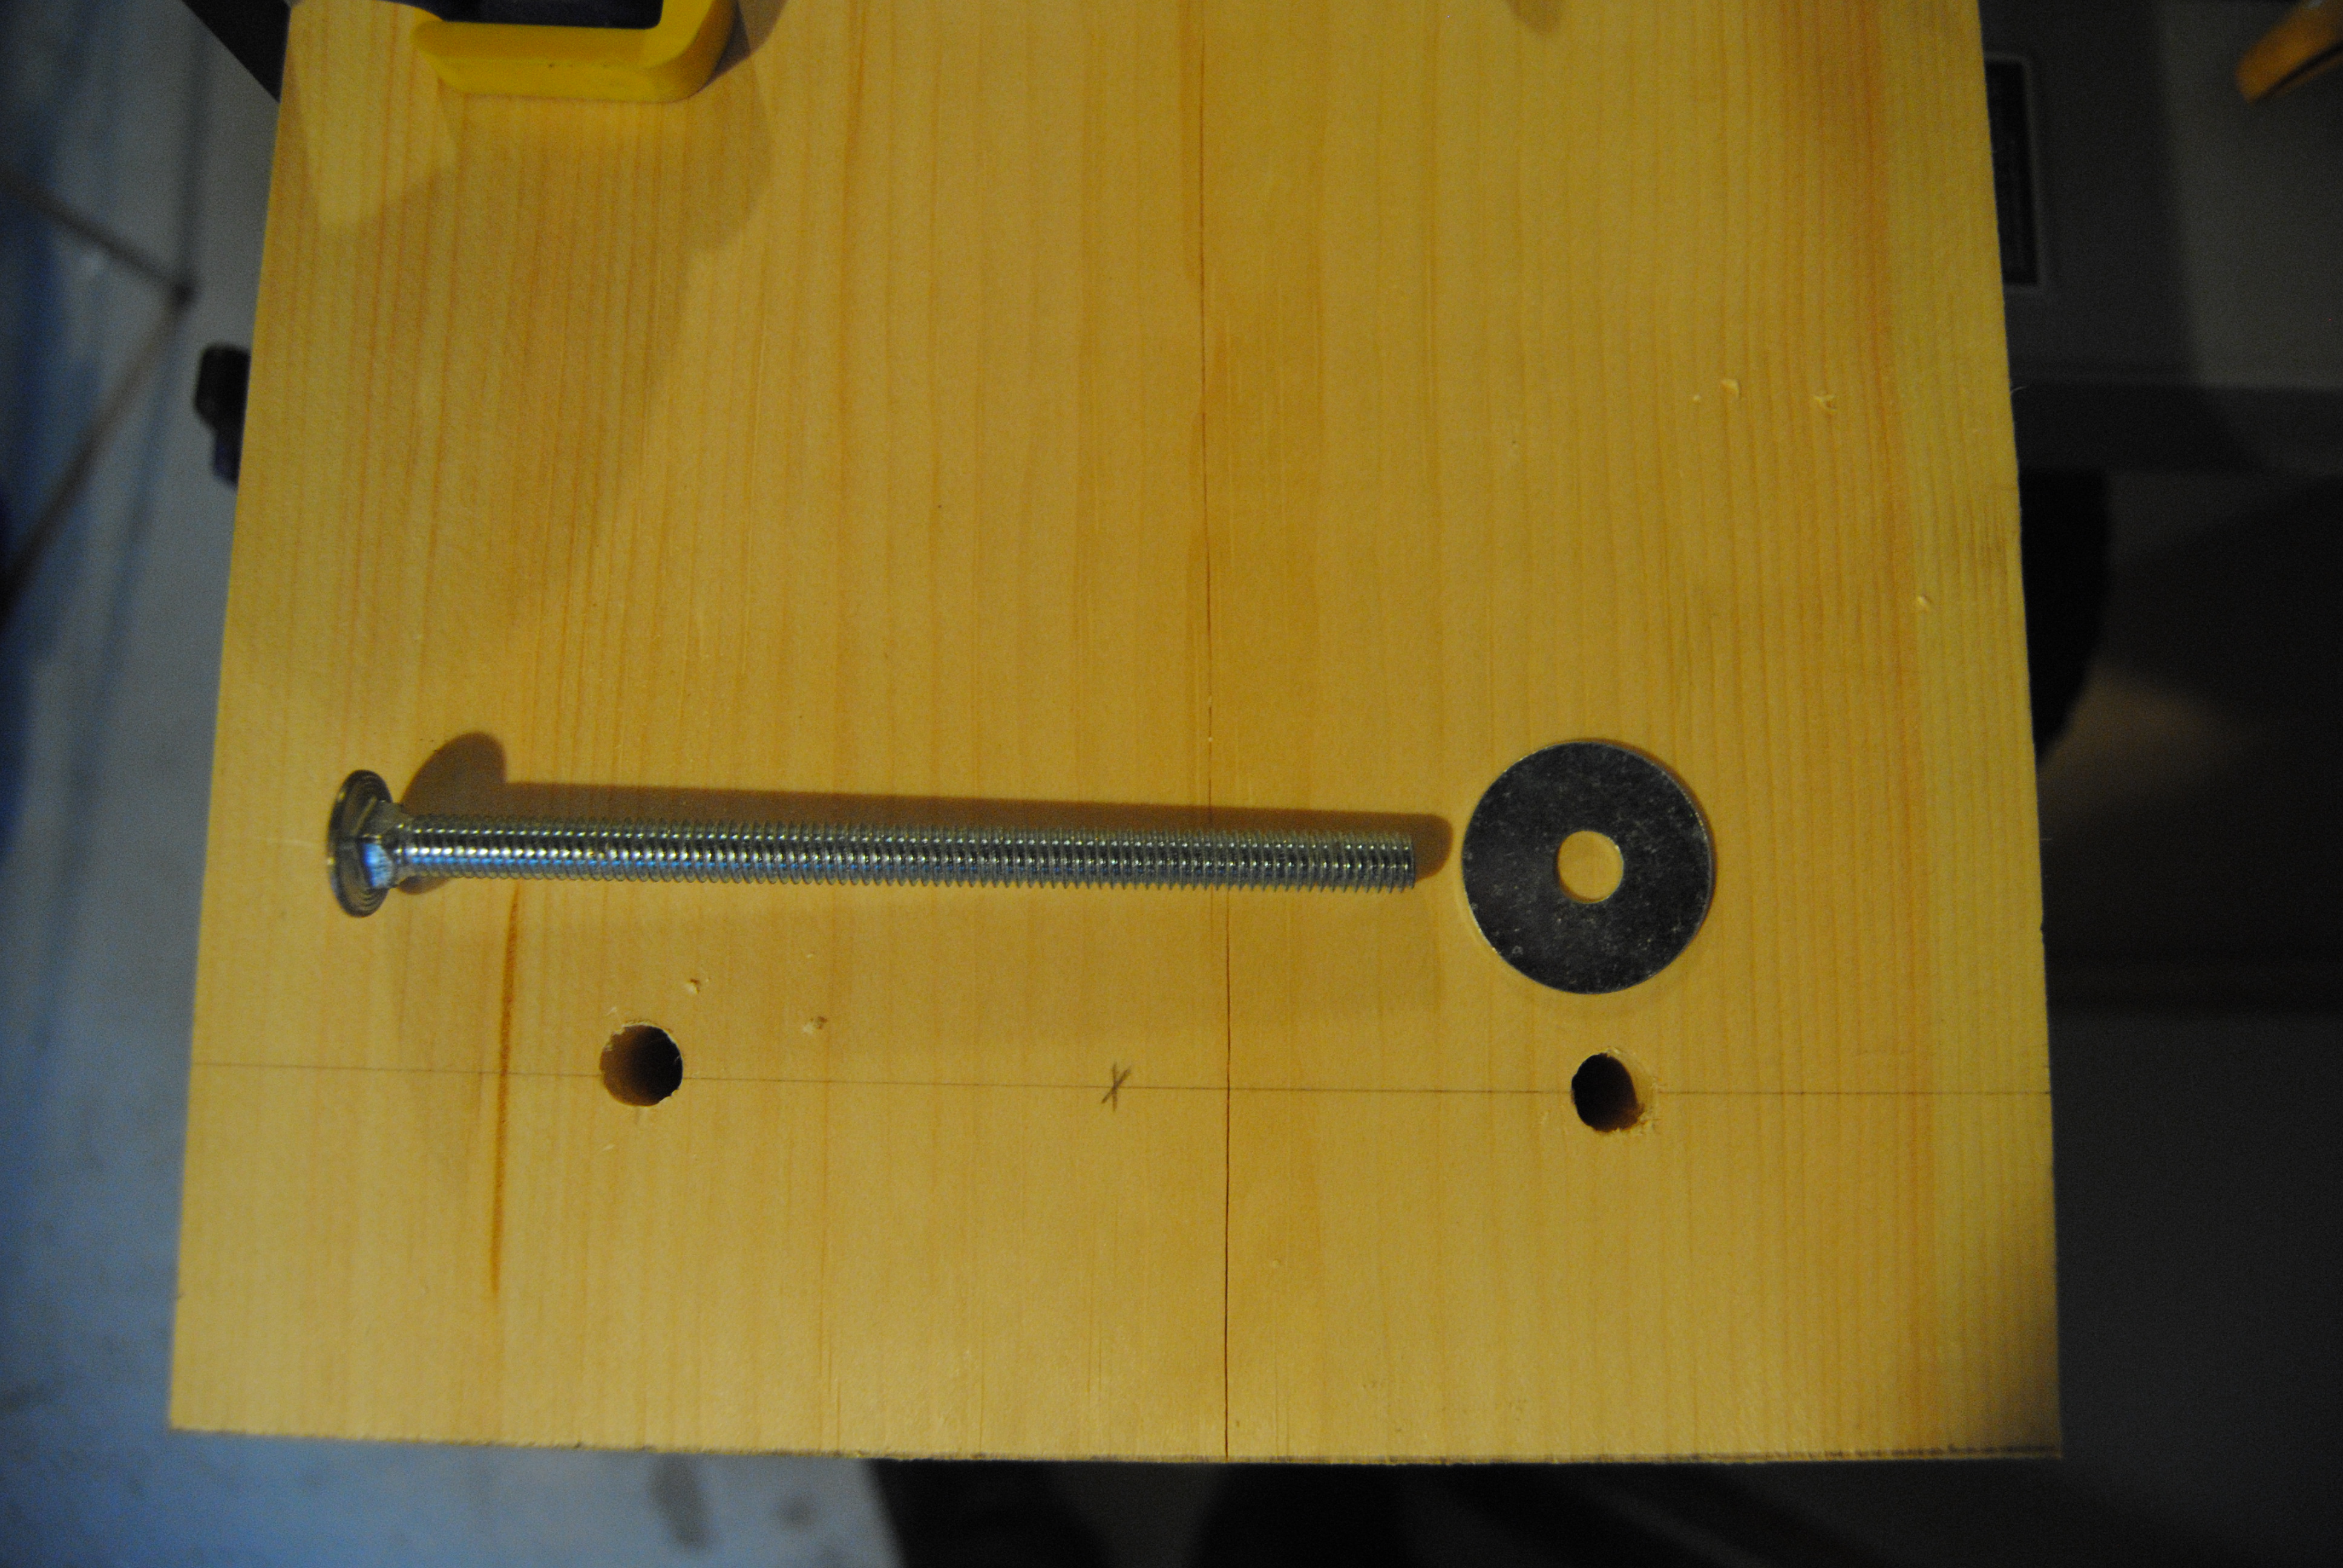
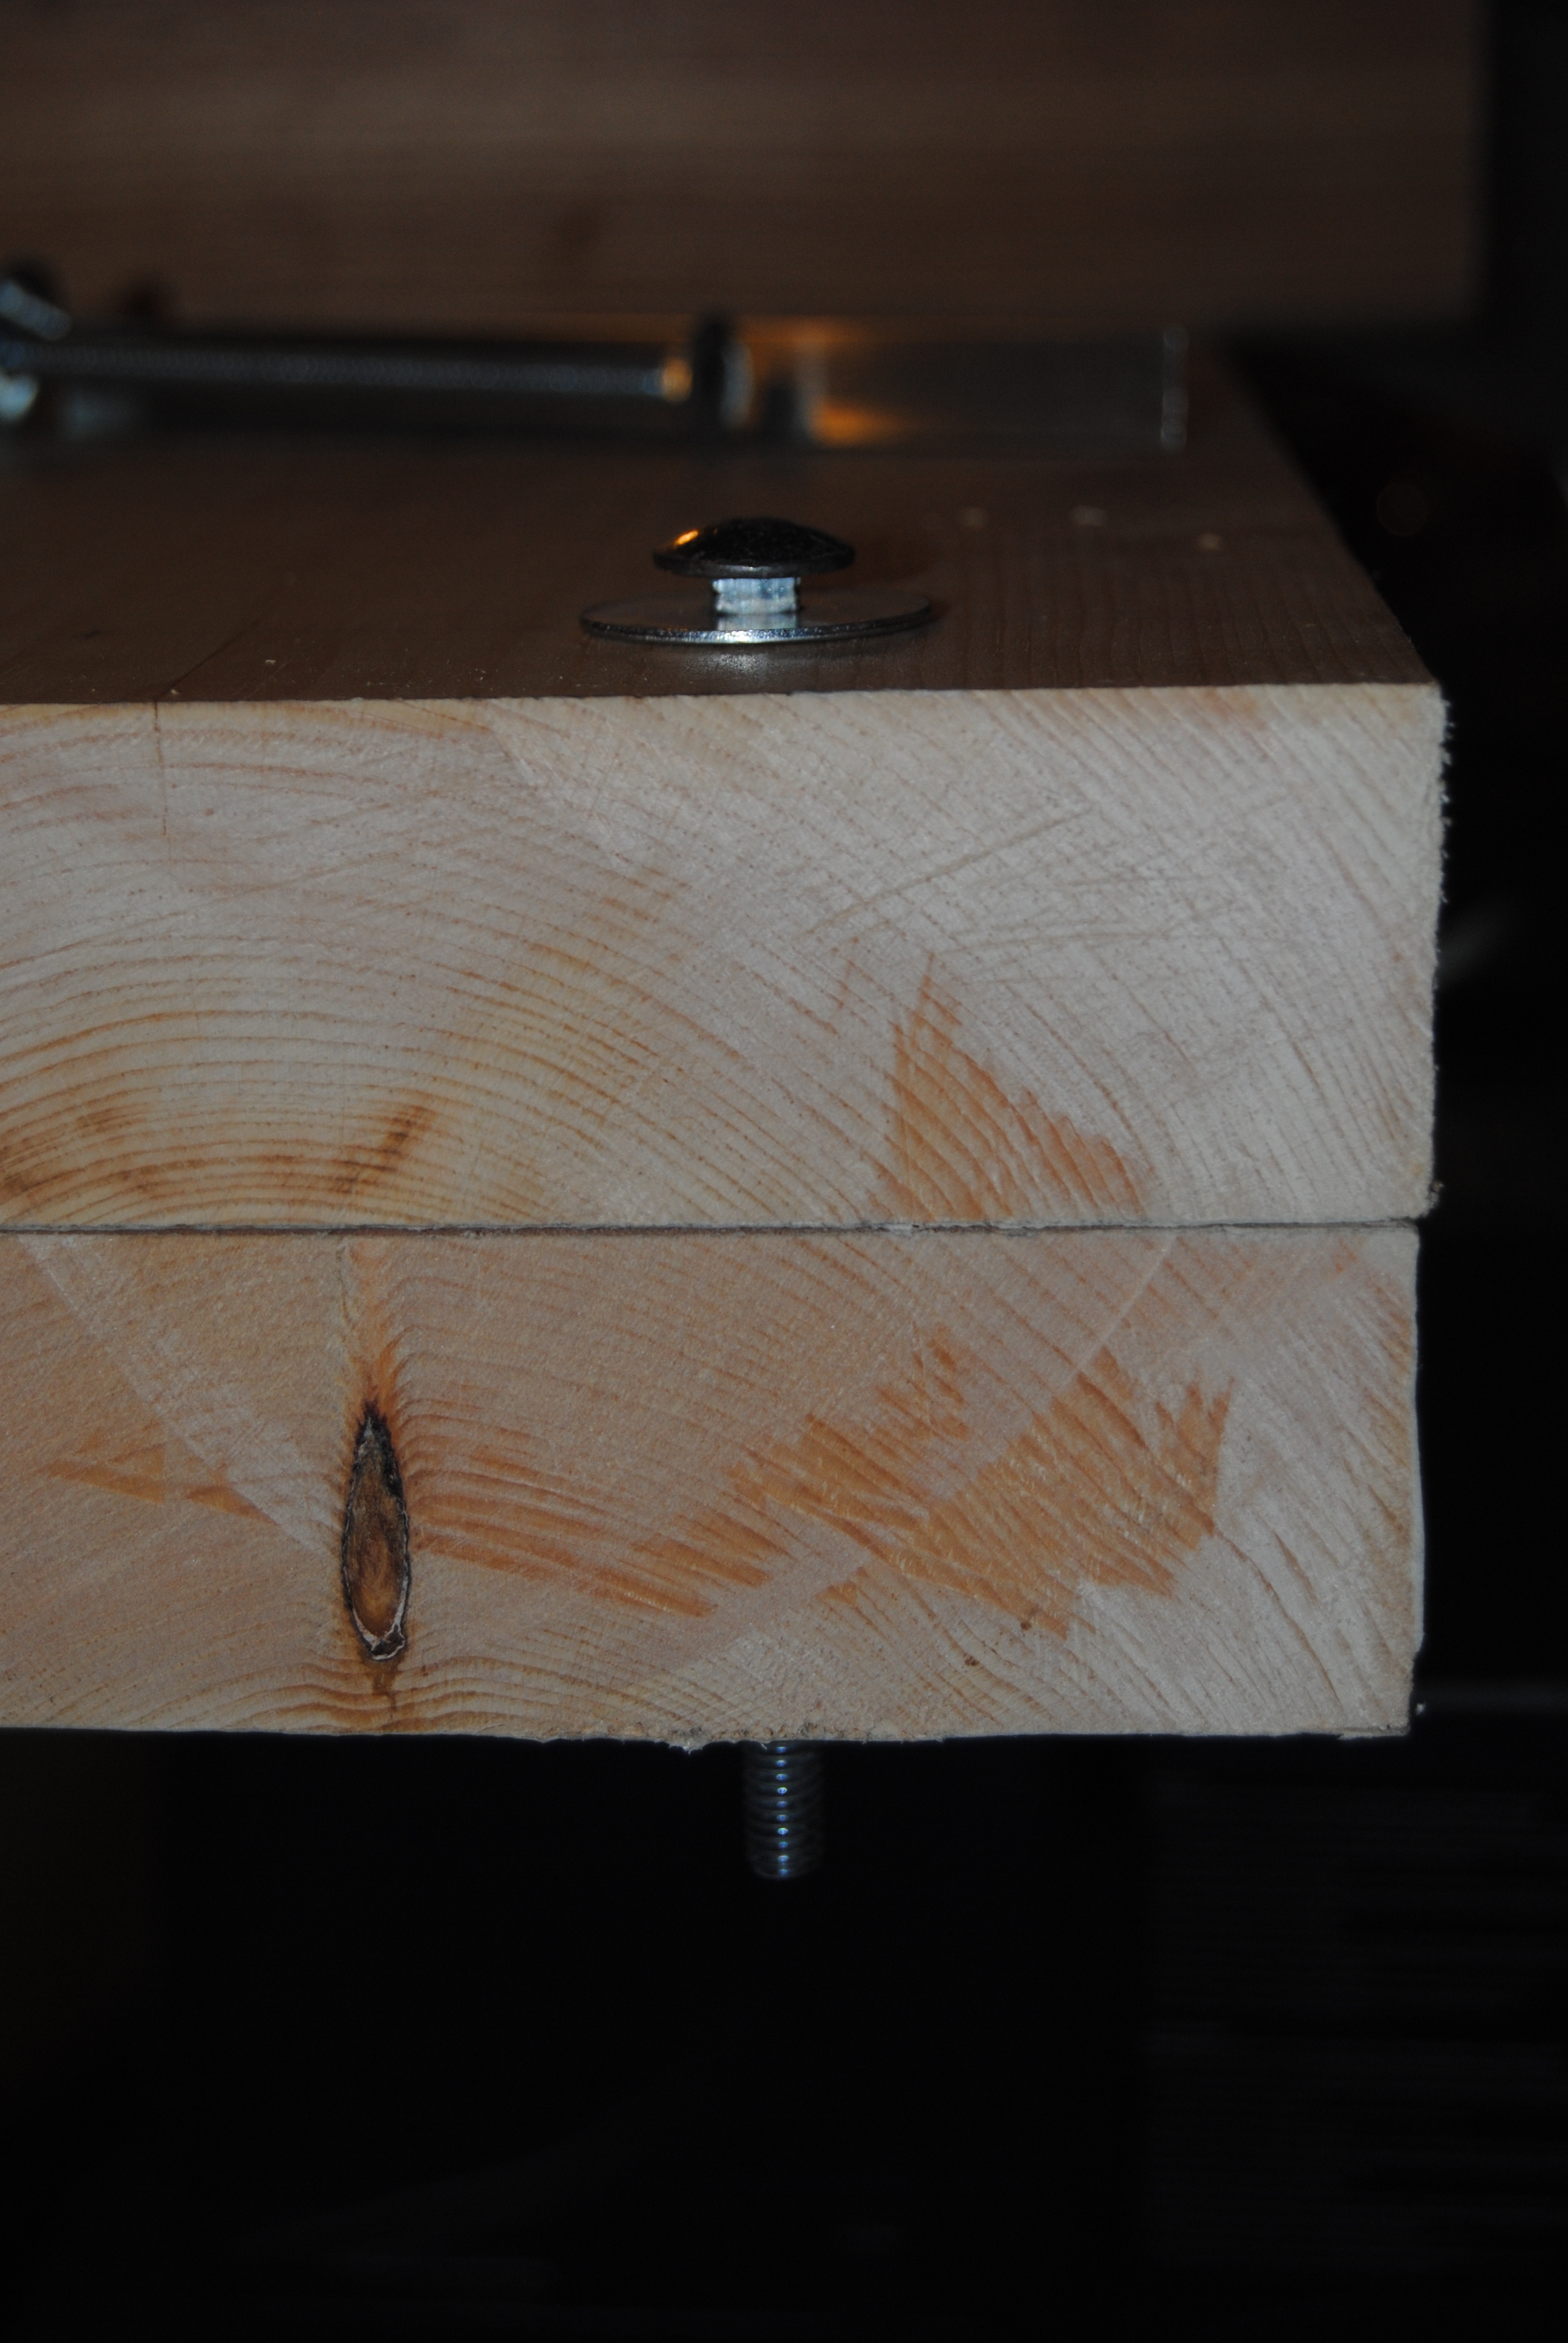
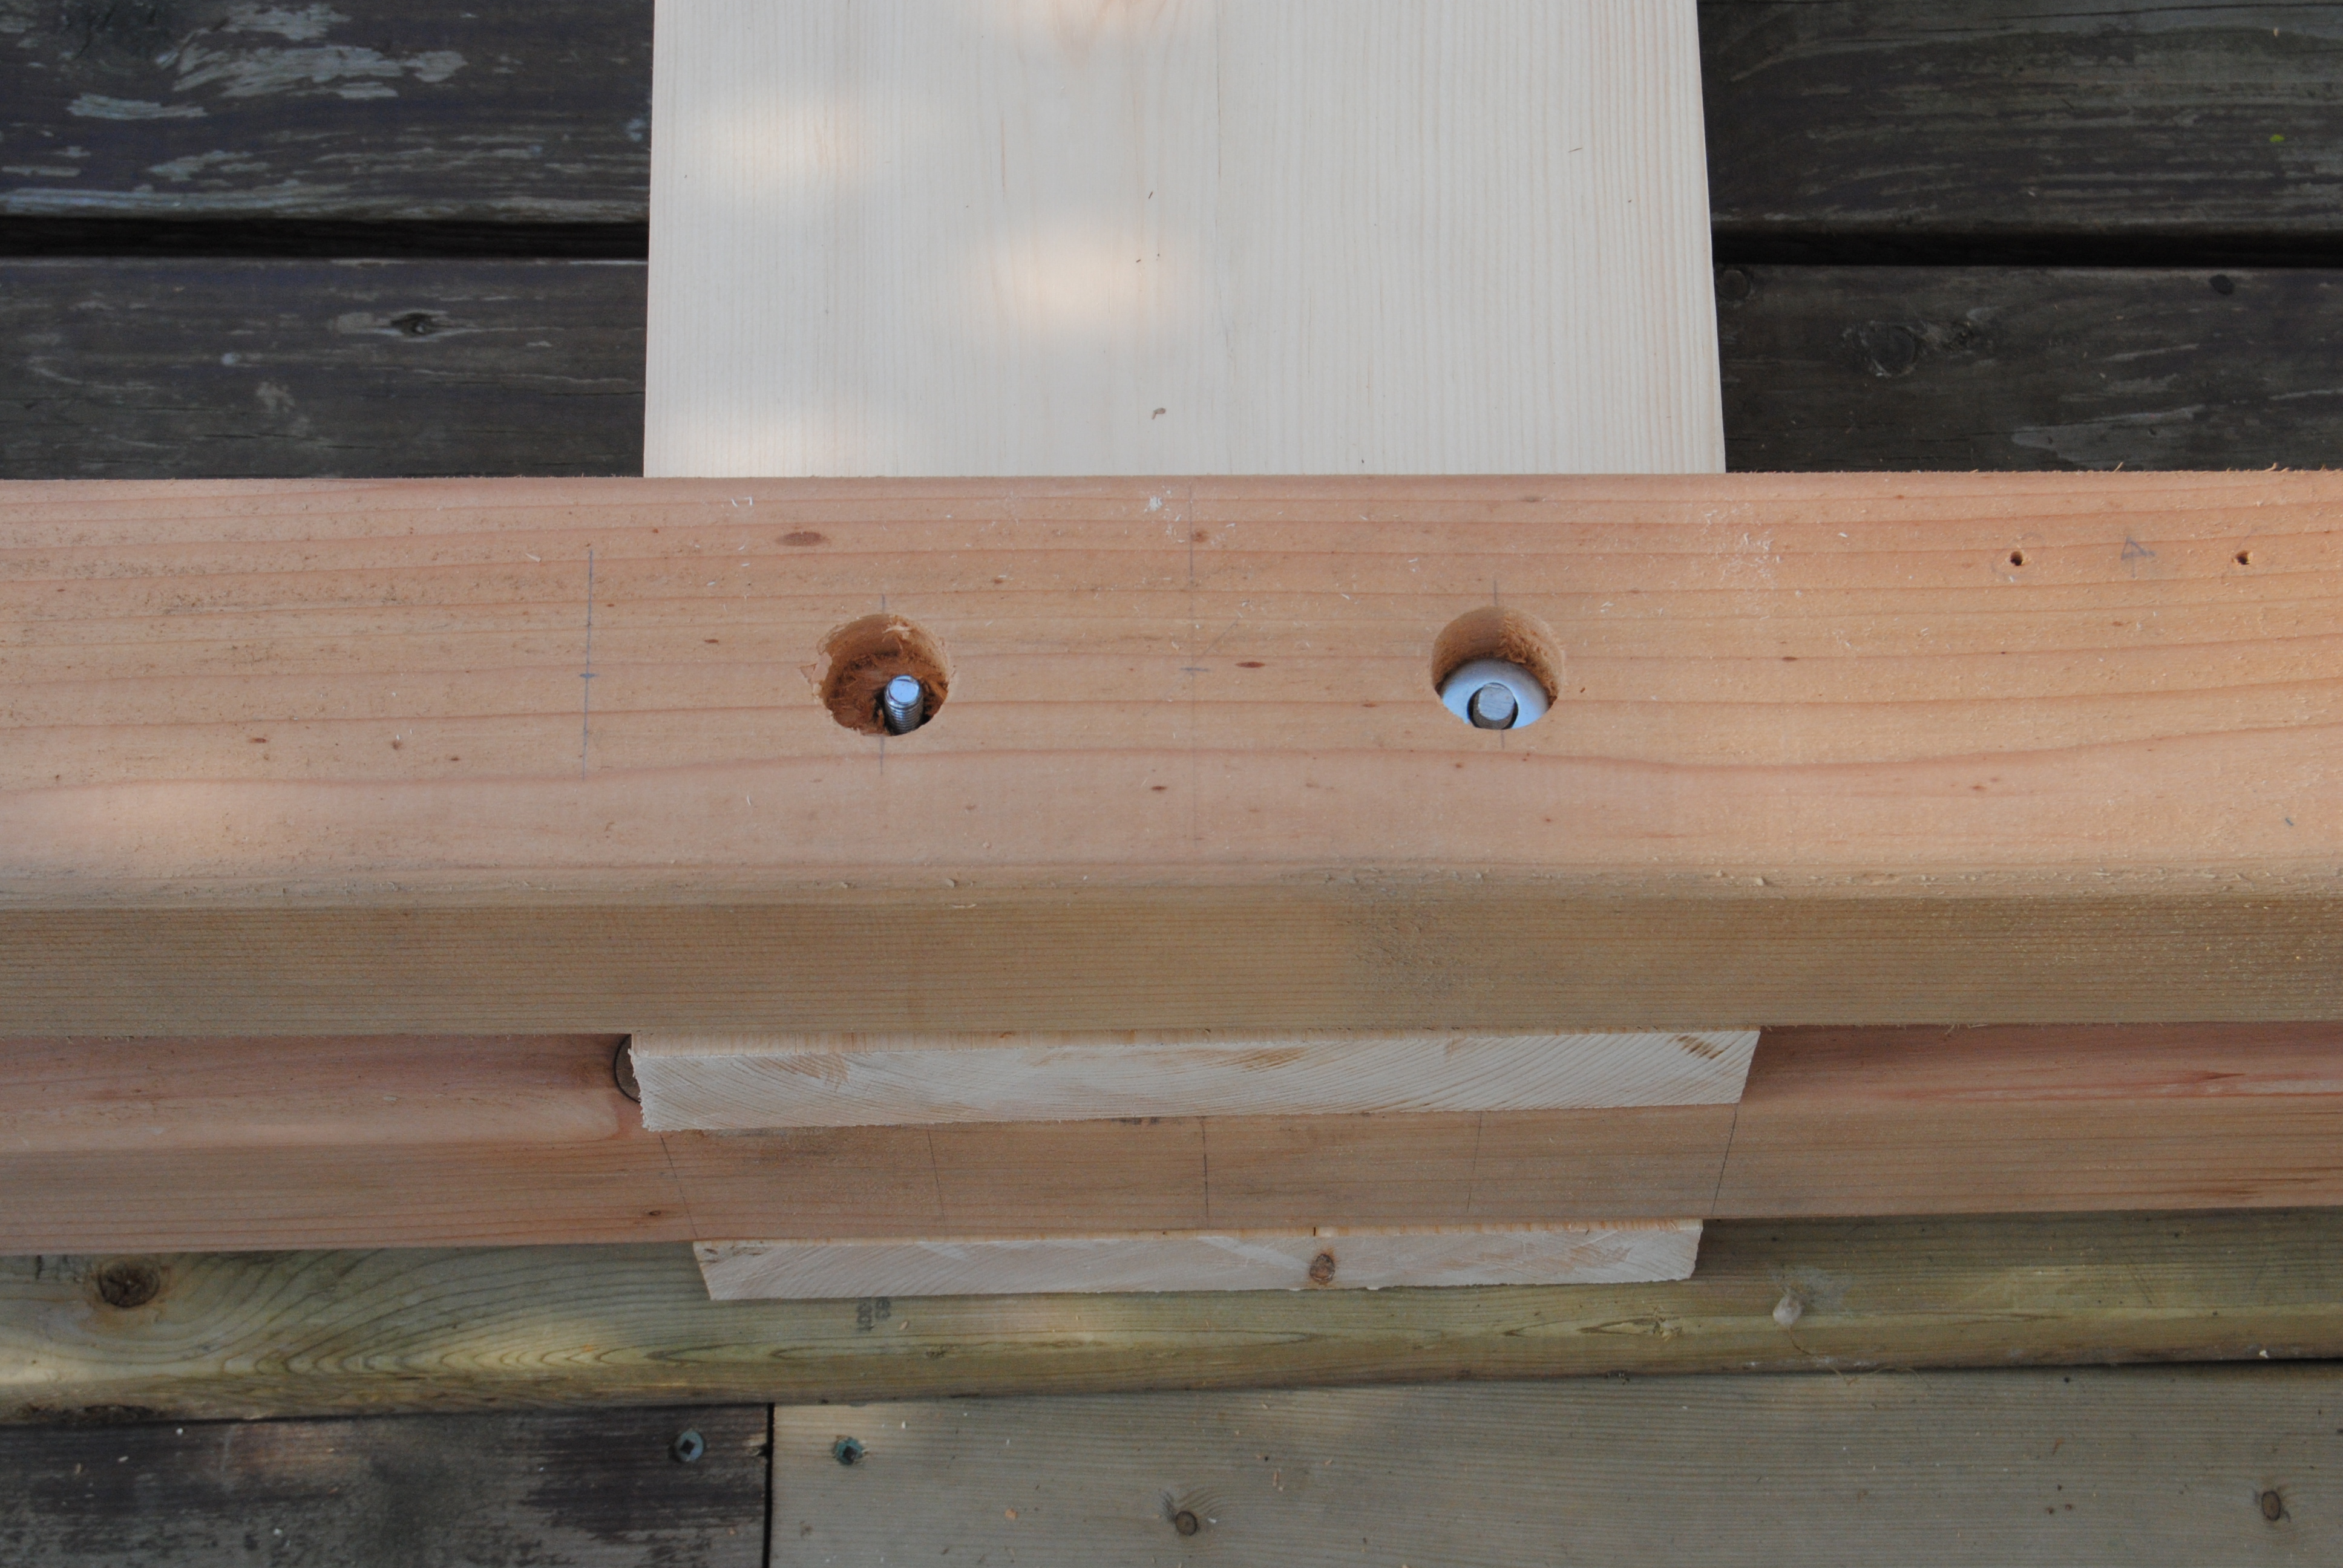
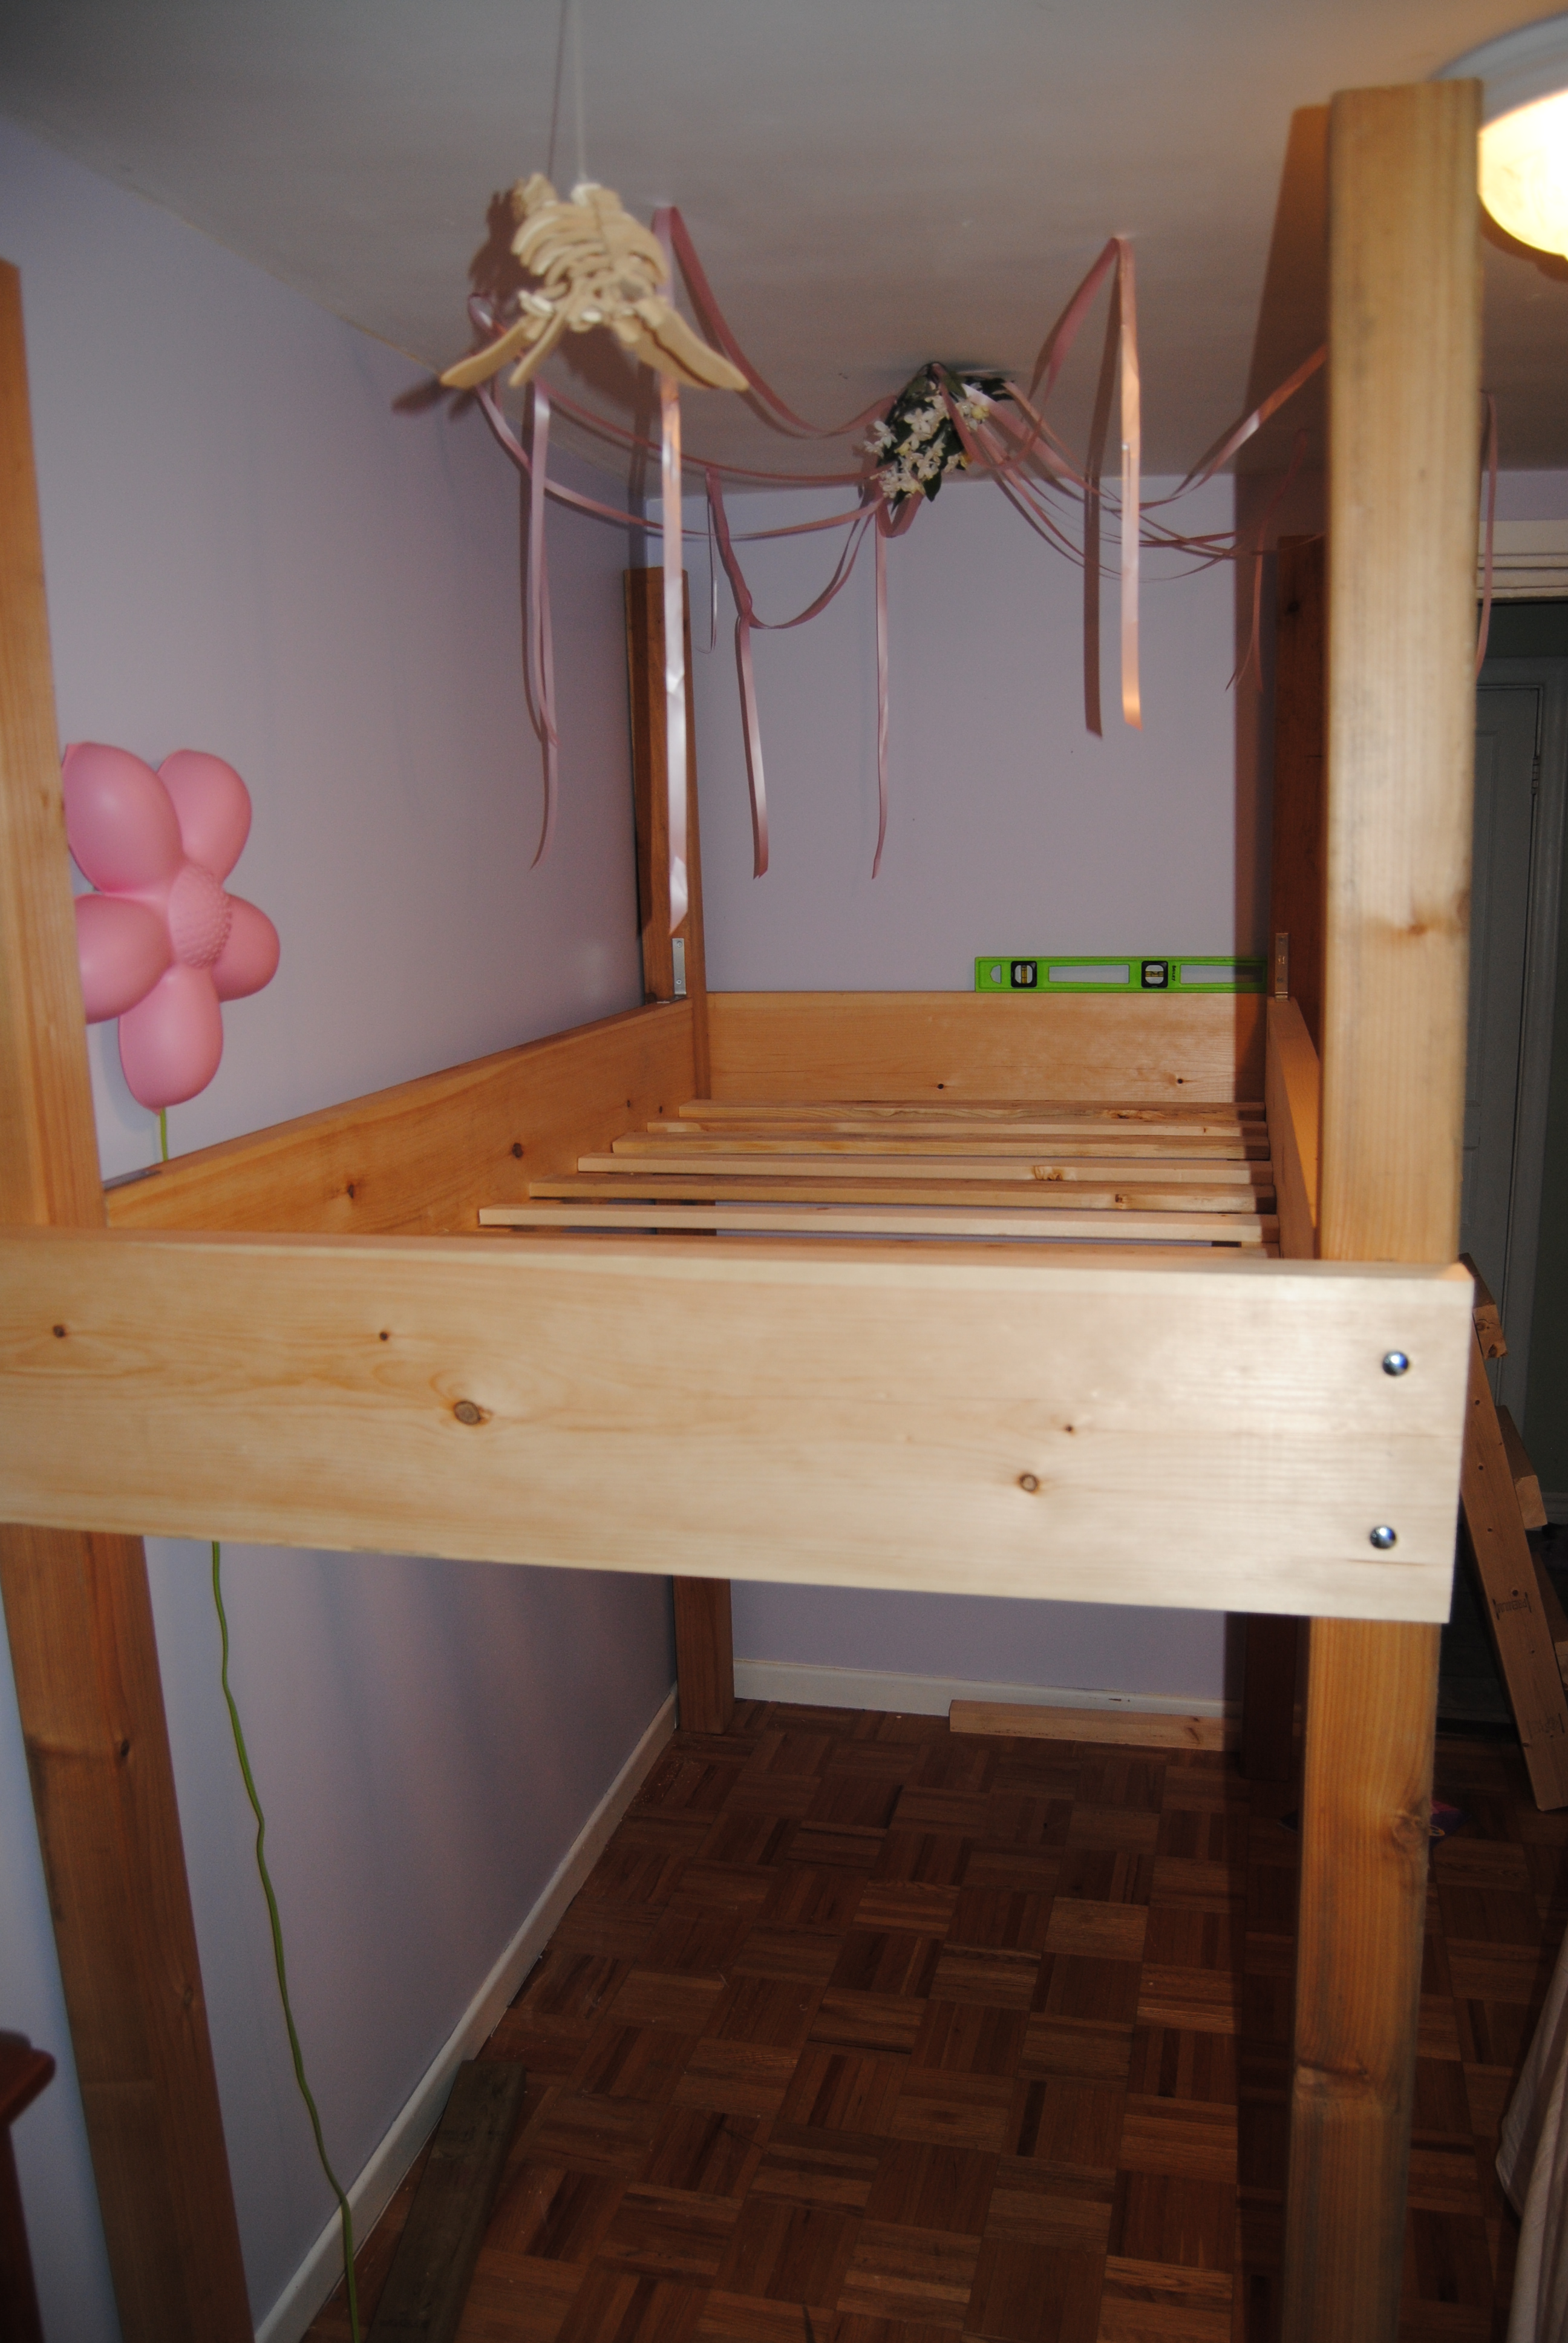
Starting with the four posts I measured carefully against the drawing I had sketched out and ganged them all together. I had to use a hand-held circular saw and a straight edge guide, but a slow and steady hand prevailed and I managed to make straight cuts all around. I then had to figure out how to drive the pilot holes for the carriage bolts that would hold on the head and foot boards. Since I wanted to make sure the bolts were recessed in the posts — as I needed to abut the sideboards against the posts and didn’t want to cut into the side board itself — I needed to make two holes on either side of each post: one wide enough to hold the bolt (3/8″ shank) and the other big enough to accept the recessed nut (1″ diameter). This was a bit of a challenge without a drill press, but again I held my tongue the right way and the pilot holes were drilled out with relative success. In the one instance where I didn’t get both holes straight-on, I managed to use a chisel and bore the hole out to accept the recessed washer.
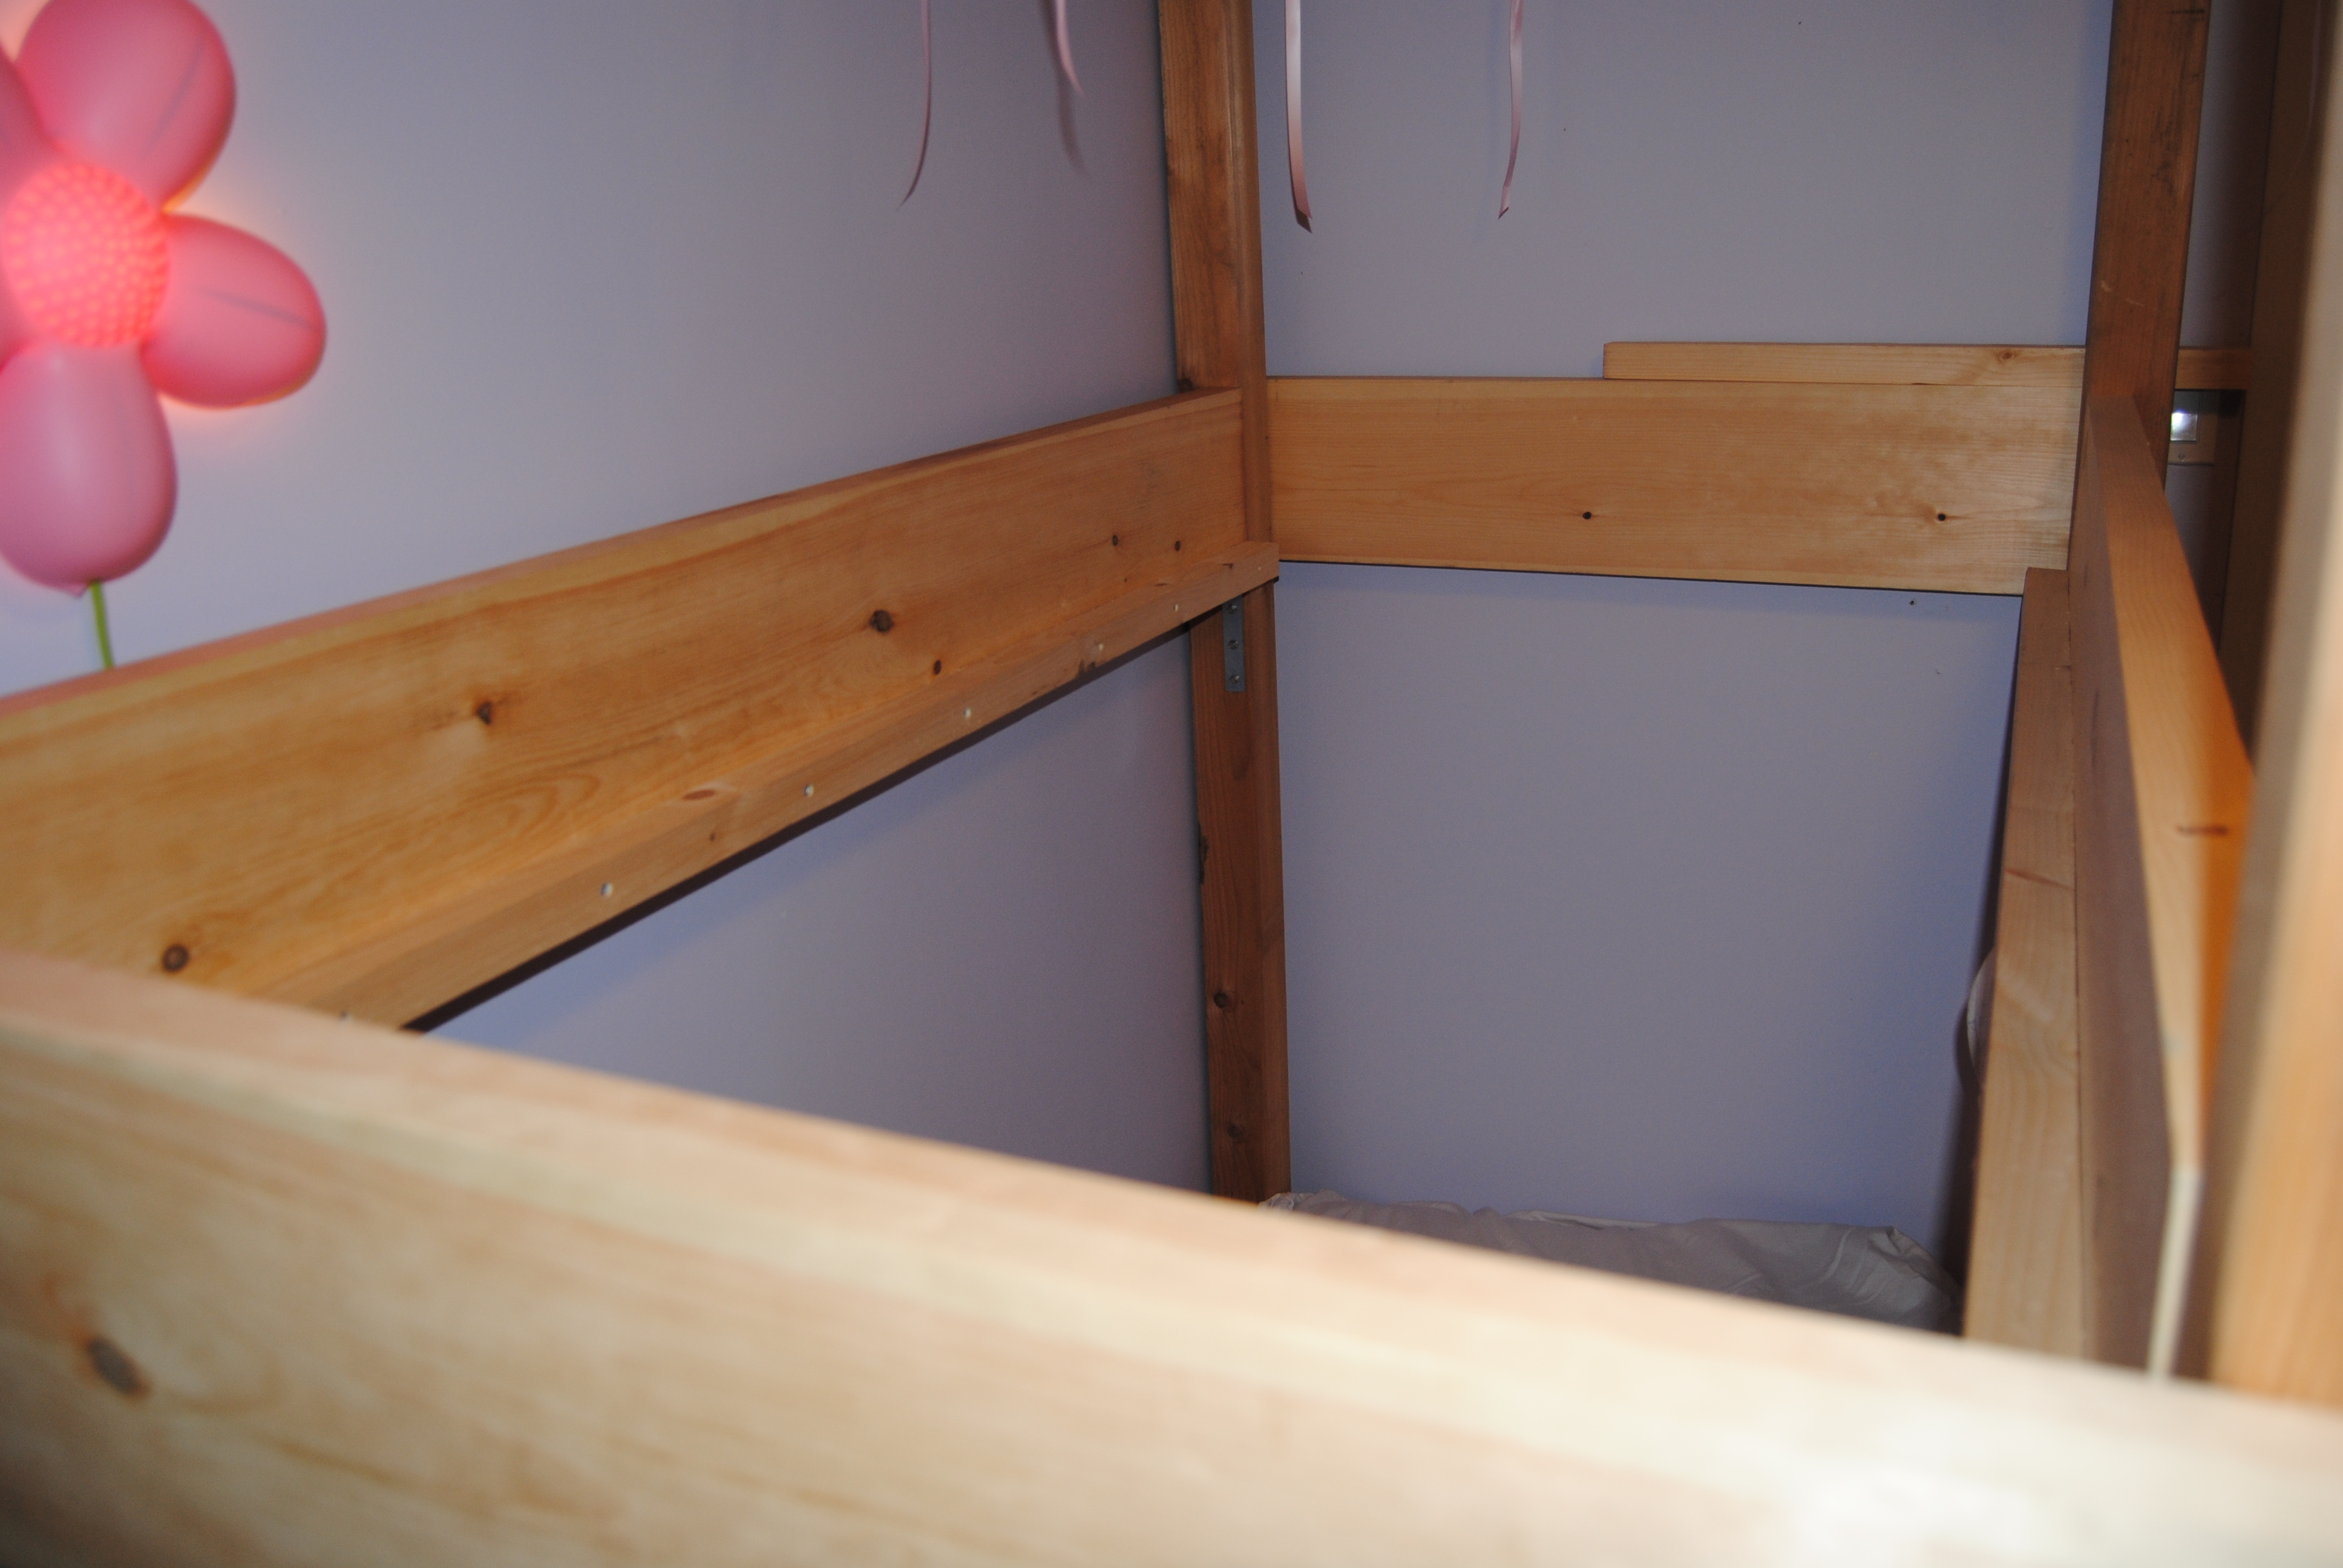
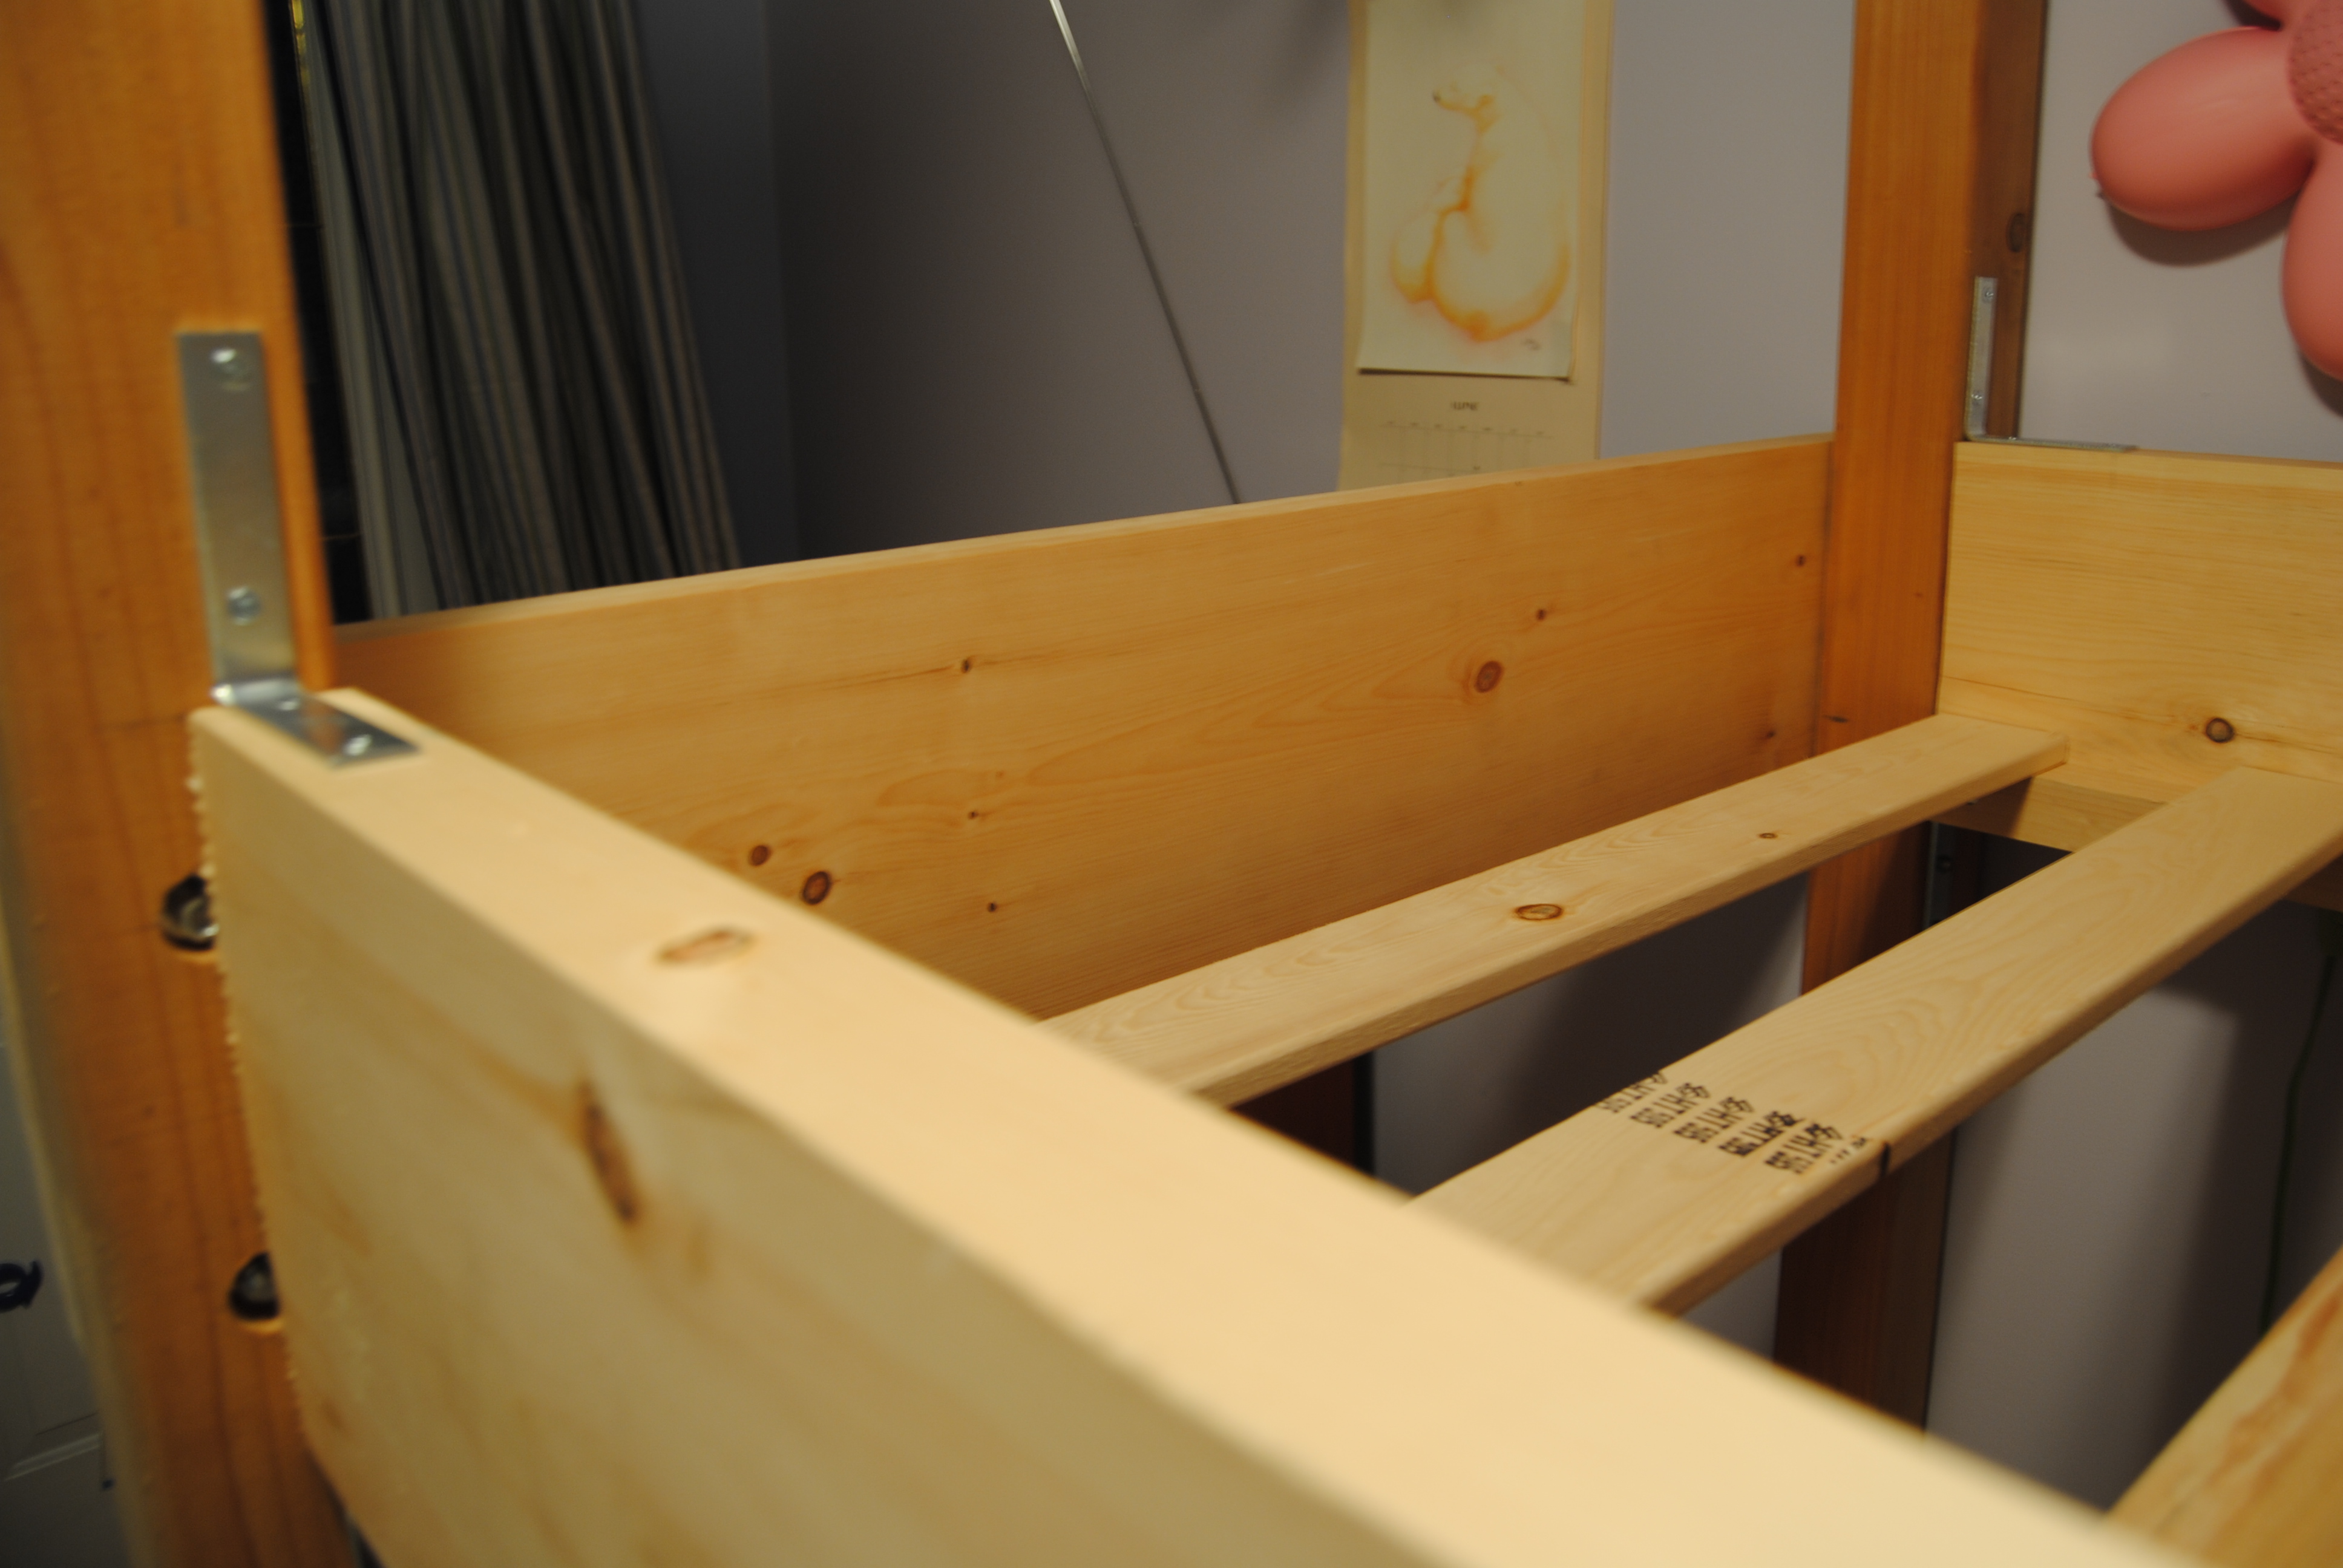
I attached the runner supports to the side boards with counter-sunk screws (as were they all in order to avoid splitting the wood) and attached the sideboards to the now-assembled head and foot boards. Then I put the cross-pieces on, made sure everything was plumb and flush, and hoisted the mattress up.
I did end up using an angle bracket to affix the frame to the wall, otherwise I would have used more bracing to reduce sway.
All-in-all, a sturdy bed, a happy daughter, and space enough to accommodate a crib, changing station and dresser for the new wee’un in the opposite corner of the room.